Creating a user with permissions
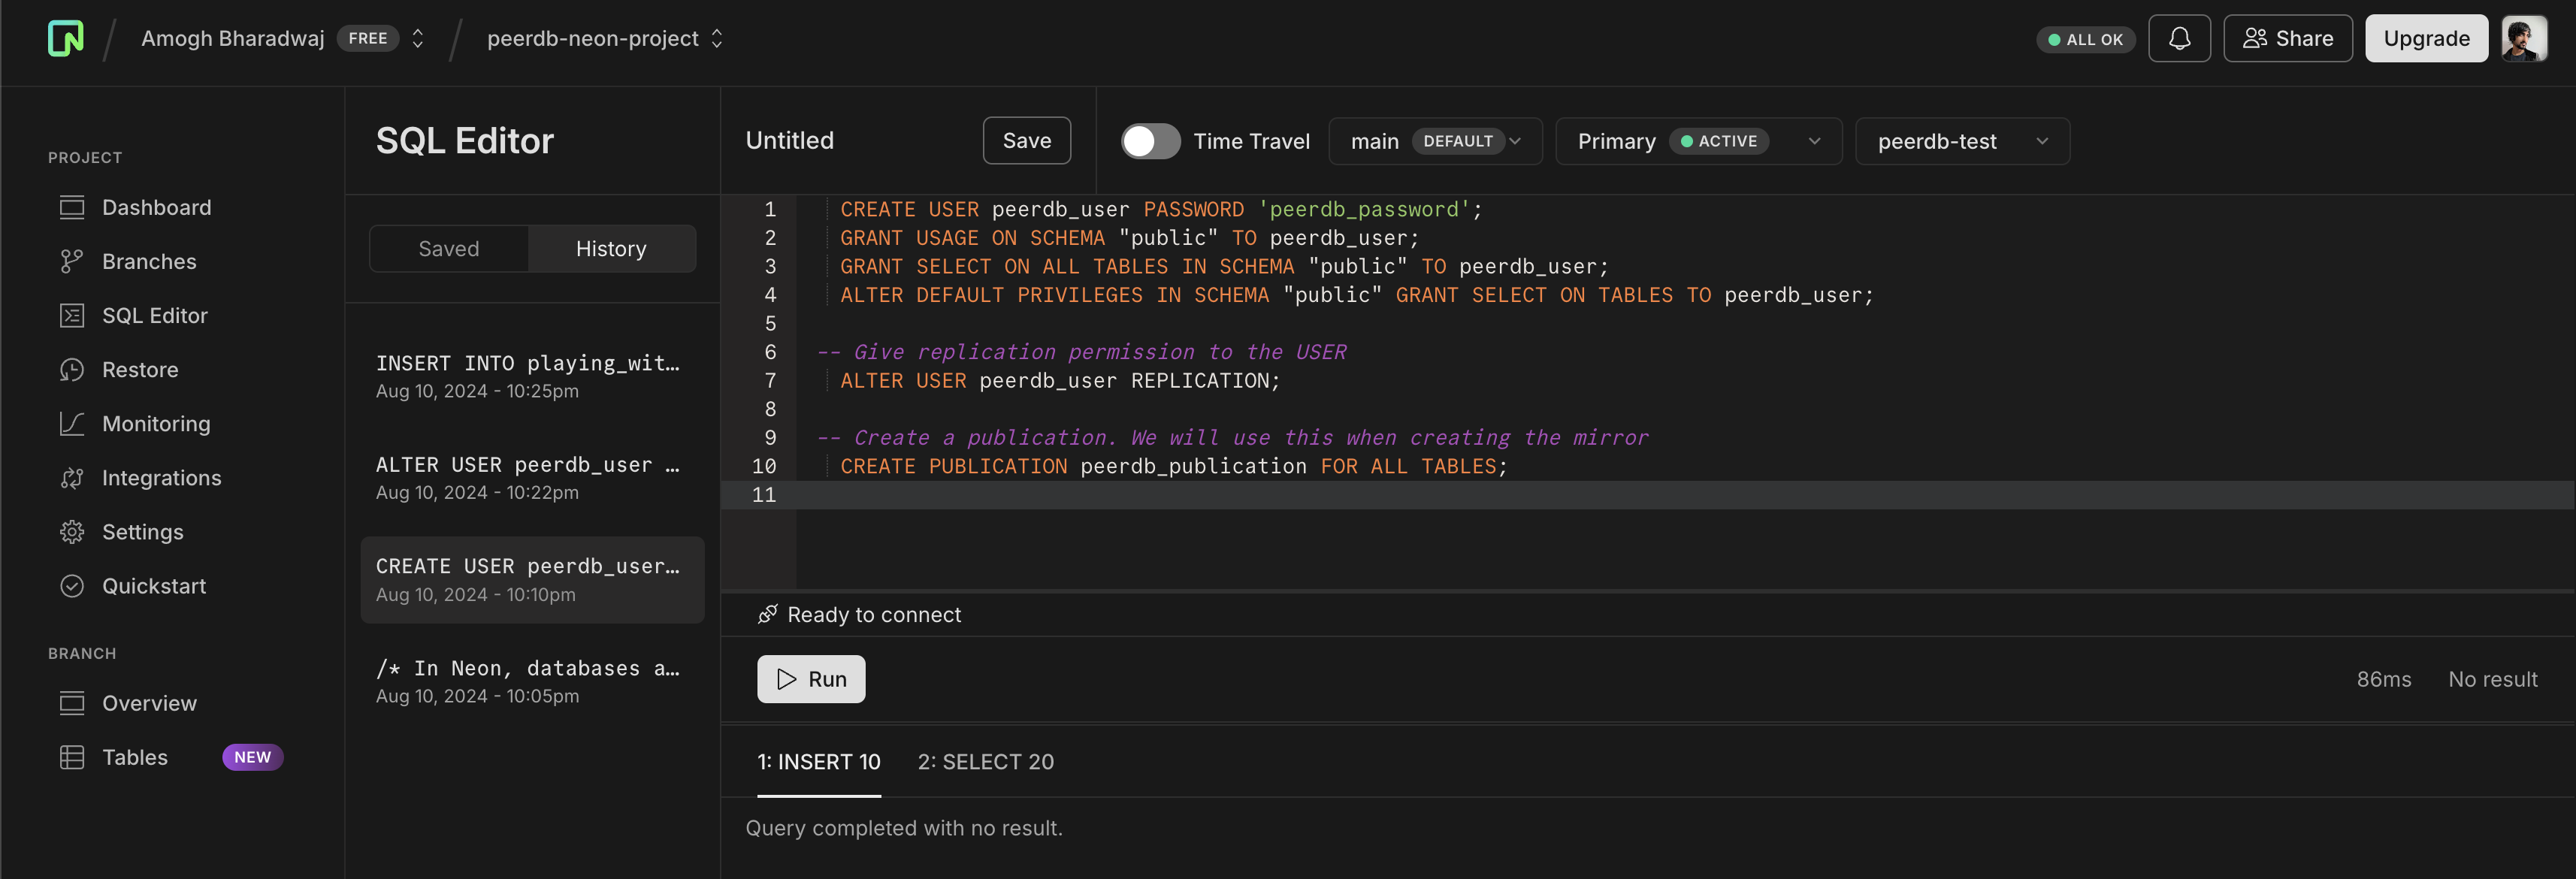
Let’s create a new user for PeerDB with the necessary permissions suitable for CDC, and also create a publication that we’ll use for replication. For this, you can head over to the SQL Console tab.-
Create a dedicated user for PeerDB:
-
-
Grant schema-level, read-only access to the user you created in the previous step. The following example shows permissions for the
publicschema. Repeat these commands for each schema containing tables you want to replicate: -
-
Grant replication privileges to the user:
-
-
Create a publication with the tables you want to replicate. We strongly recommend only including the tables you need in the publication to avoid performance overhead.
Any table included in the publication must either have a primary key defined or have its replica identity configured to
FULL.- To create a publication for specific tables:
-
To create a publication for all tables in a specific schema:
peerdb_publicationpublication will contain the set of change events generated from the specified tables, and will later be used to create the MIRROR (replication).
User and publication commands
The PeerDB user must not be restricted by RLS policies, as it can lead to missing data. You can disable RLS policies for the user by running the below command:
Enable Logical Replication
In Neon, you can enable logical replication through the UI. This is necessary for PeerDB’s CDC to replicate data. Head over to the Settings tab and then to the Logical Replication section.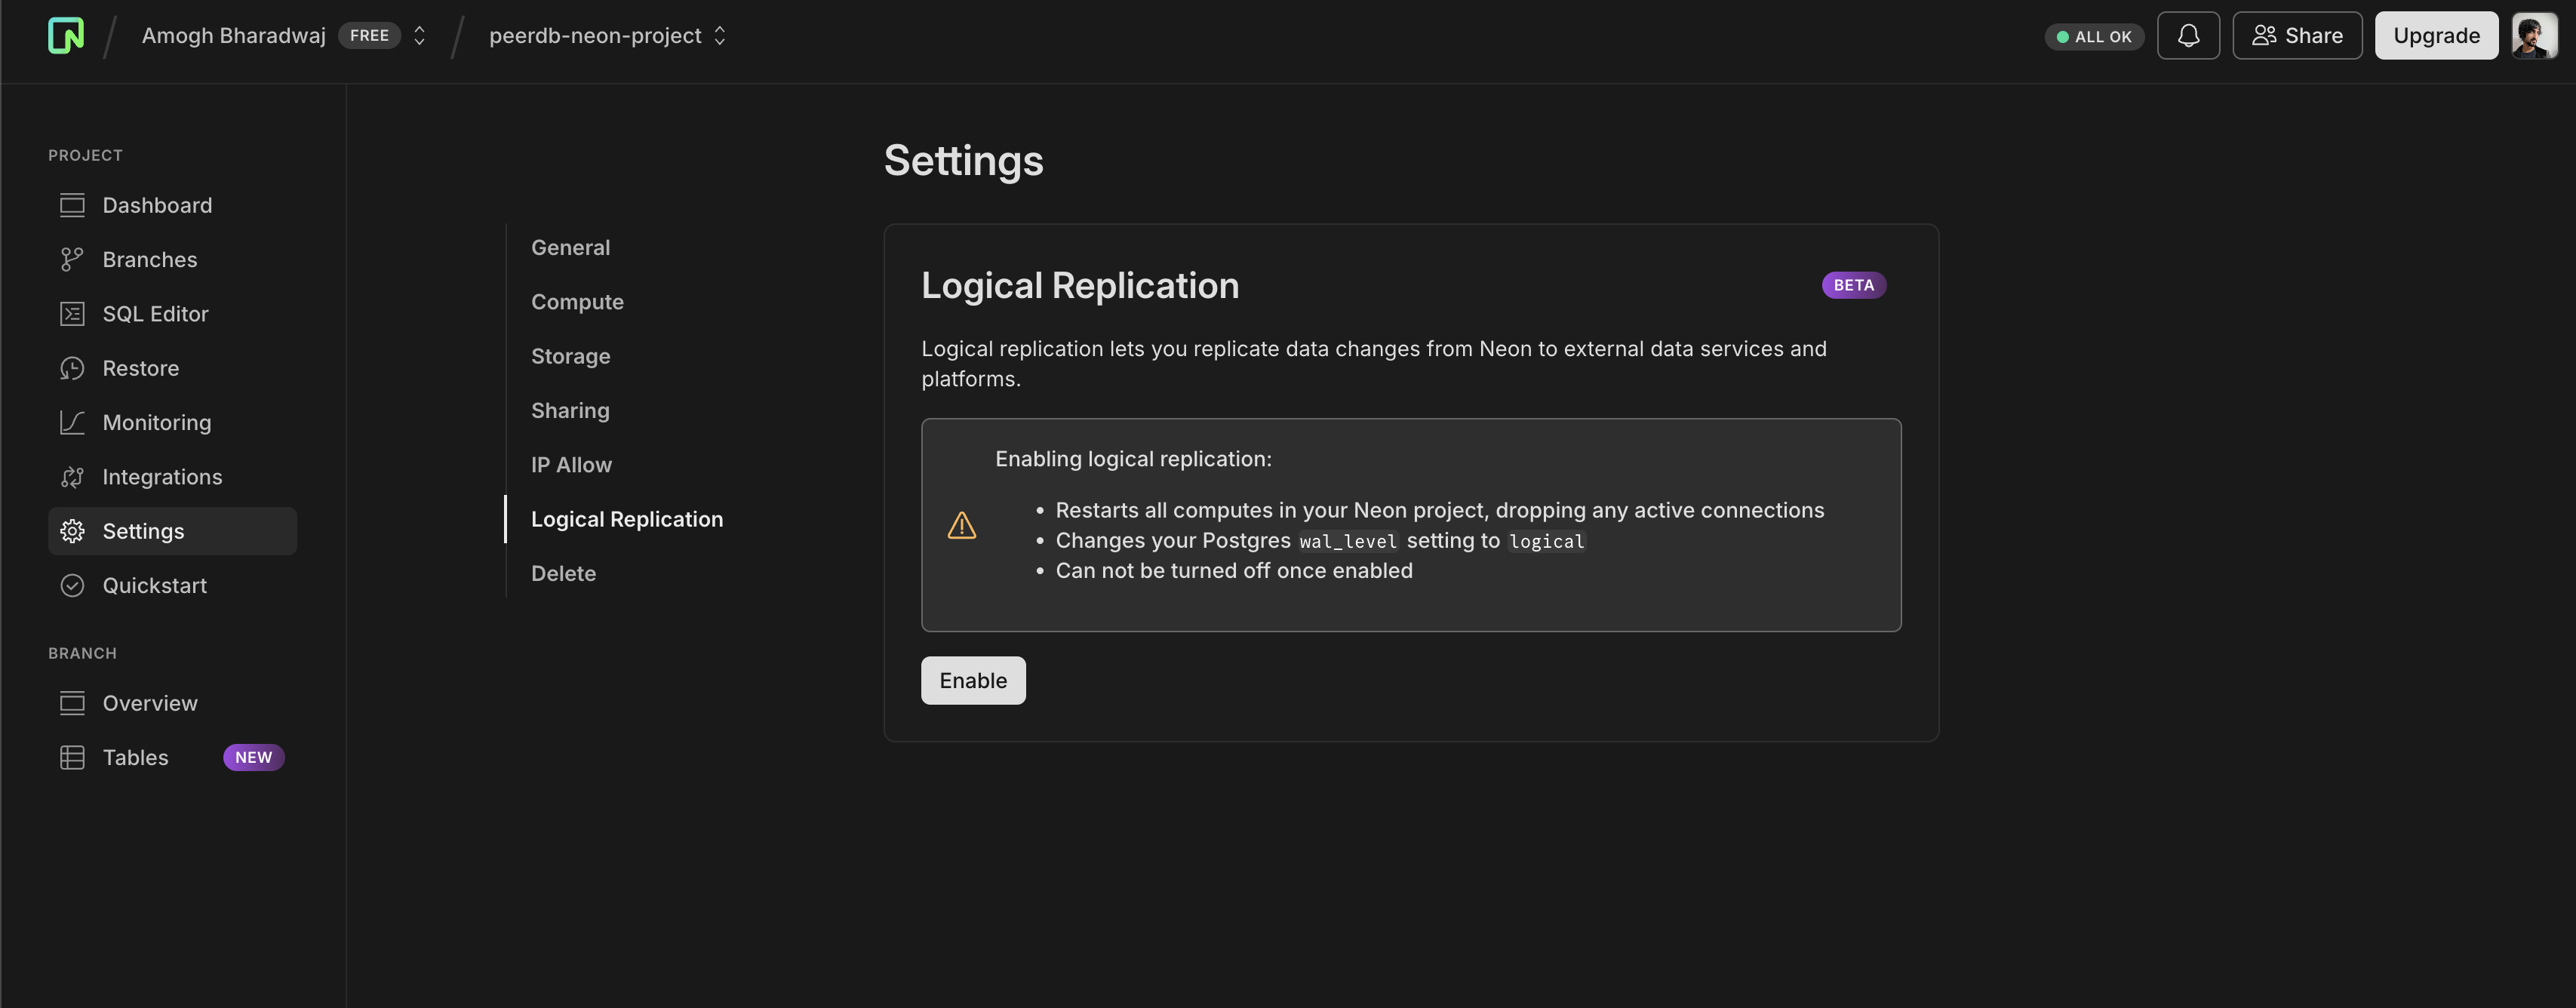
Enable logical replication
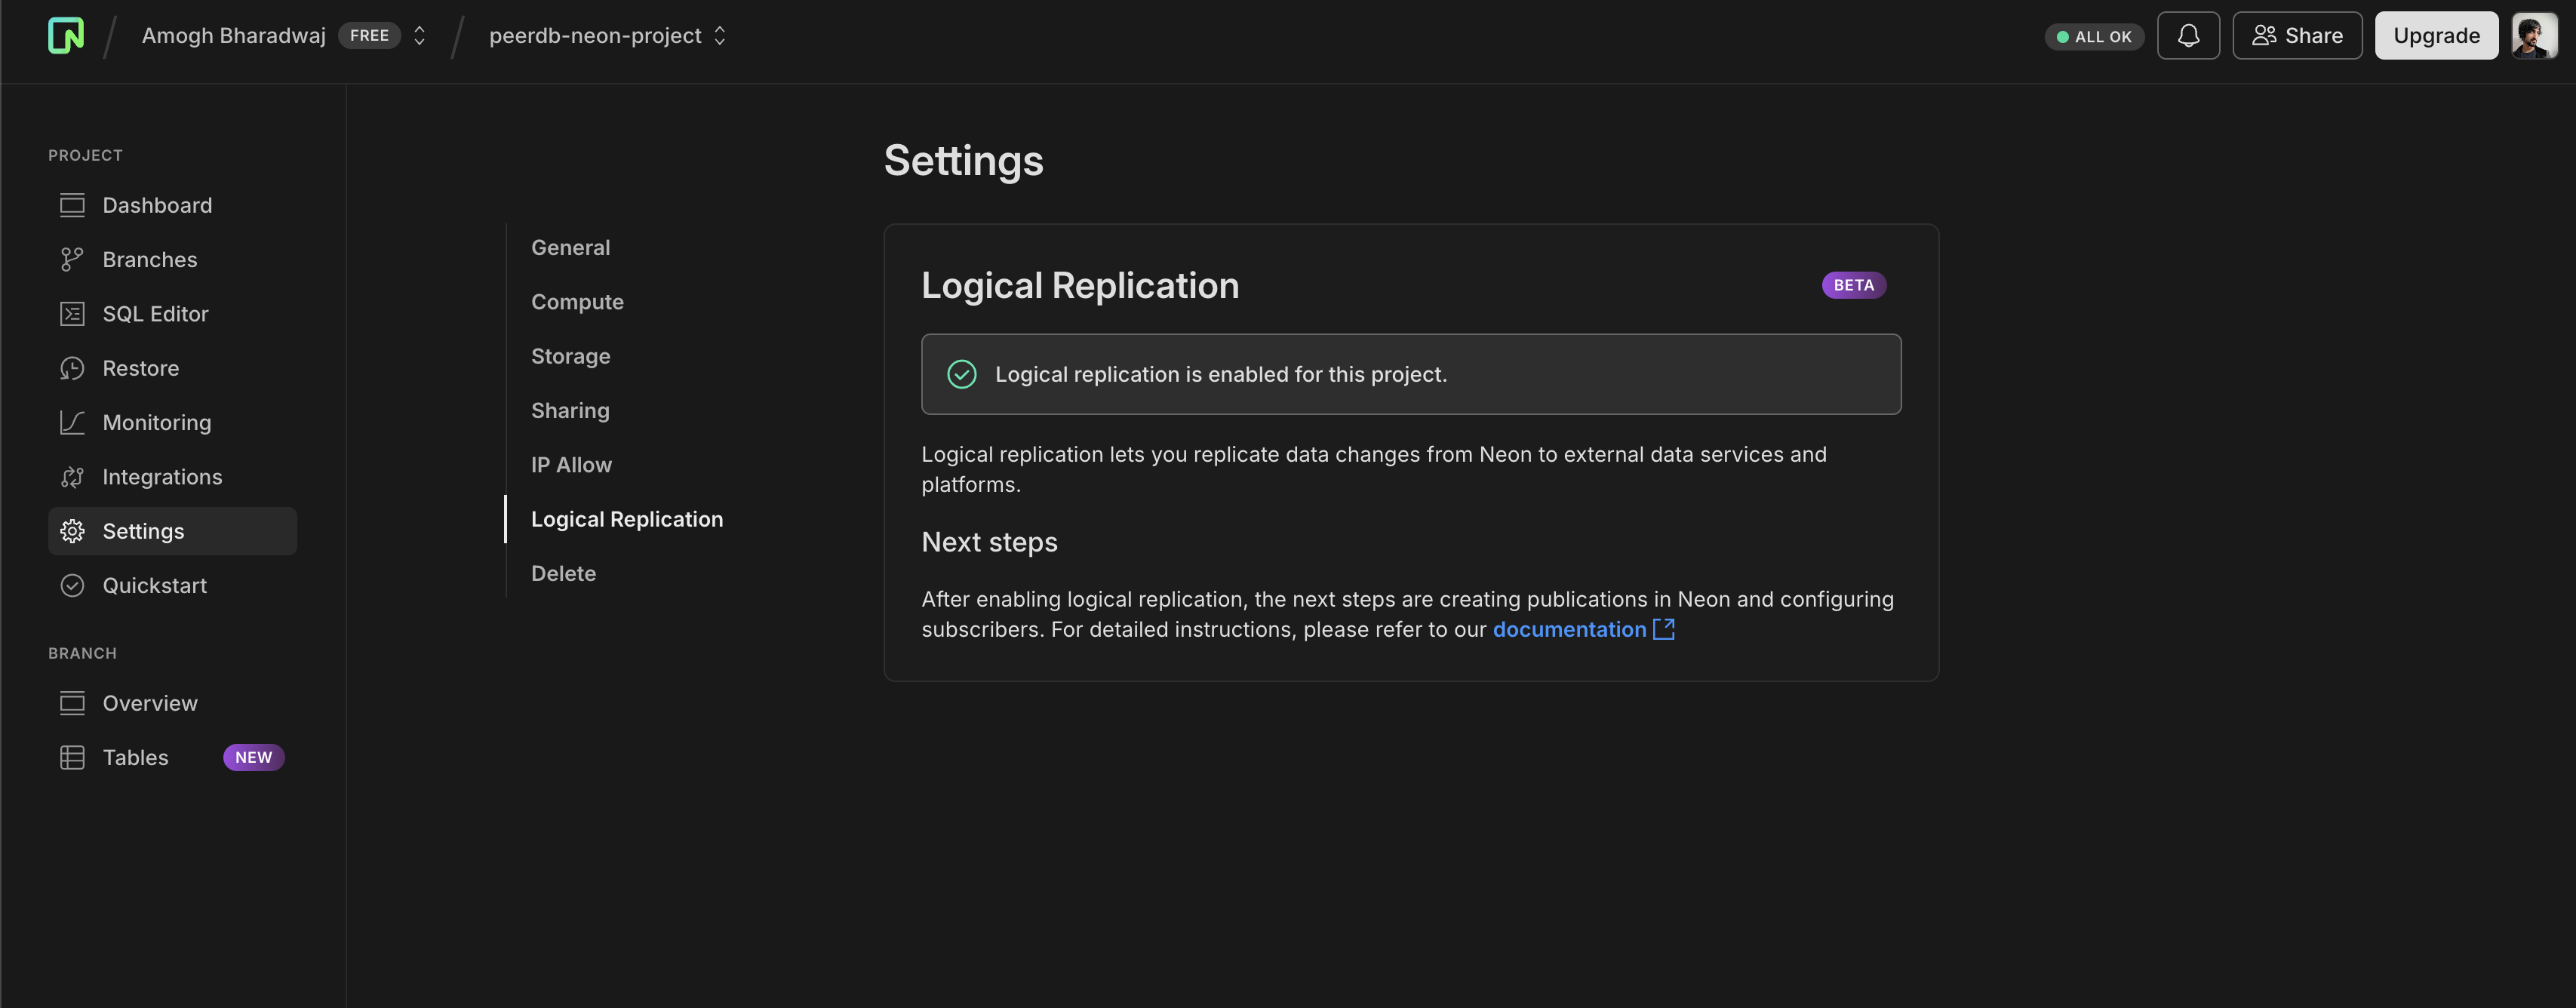
Logical replication enabled
IP Whitelisting (For Neon Enterprise plan)
If you have Neon Enterprise plan, you can whitelist the PeerDB Cloud IP addresses (or the equivalent for PeerDB OSS/Enterprise) to allow replication from PeerDB Cloud to your Neon Postgres instance. To do this you can click on the Settings tab and go to the IP Allow section.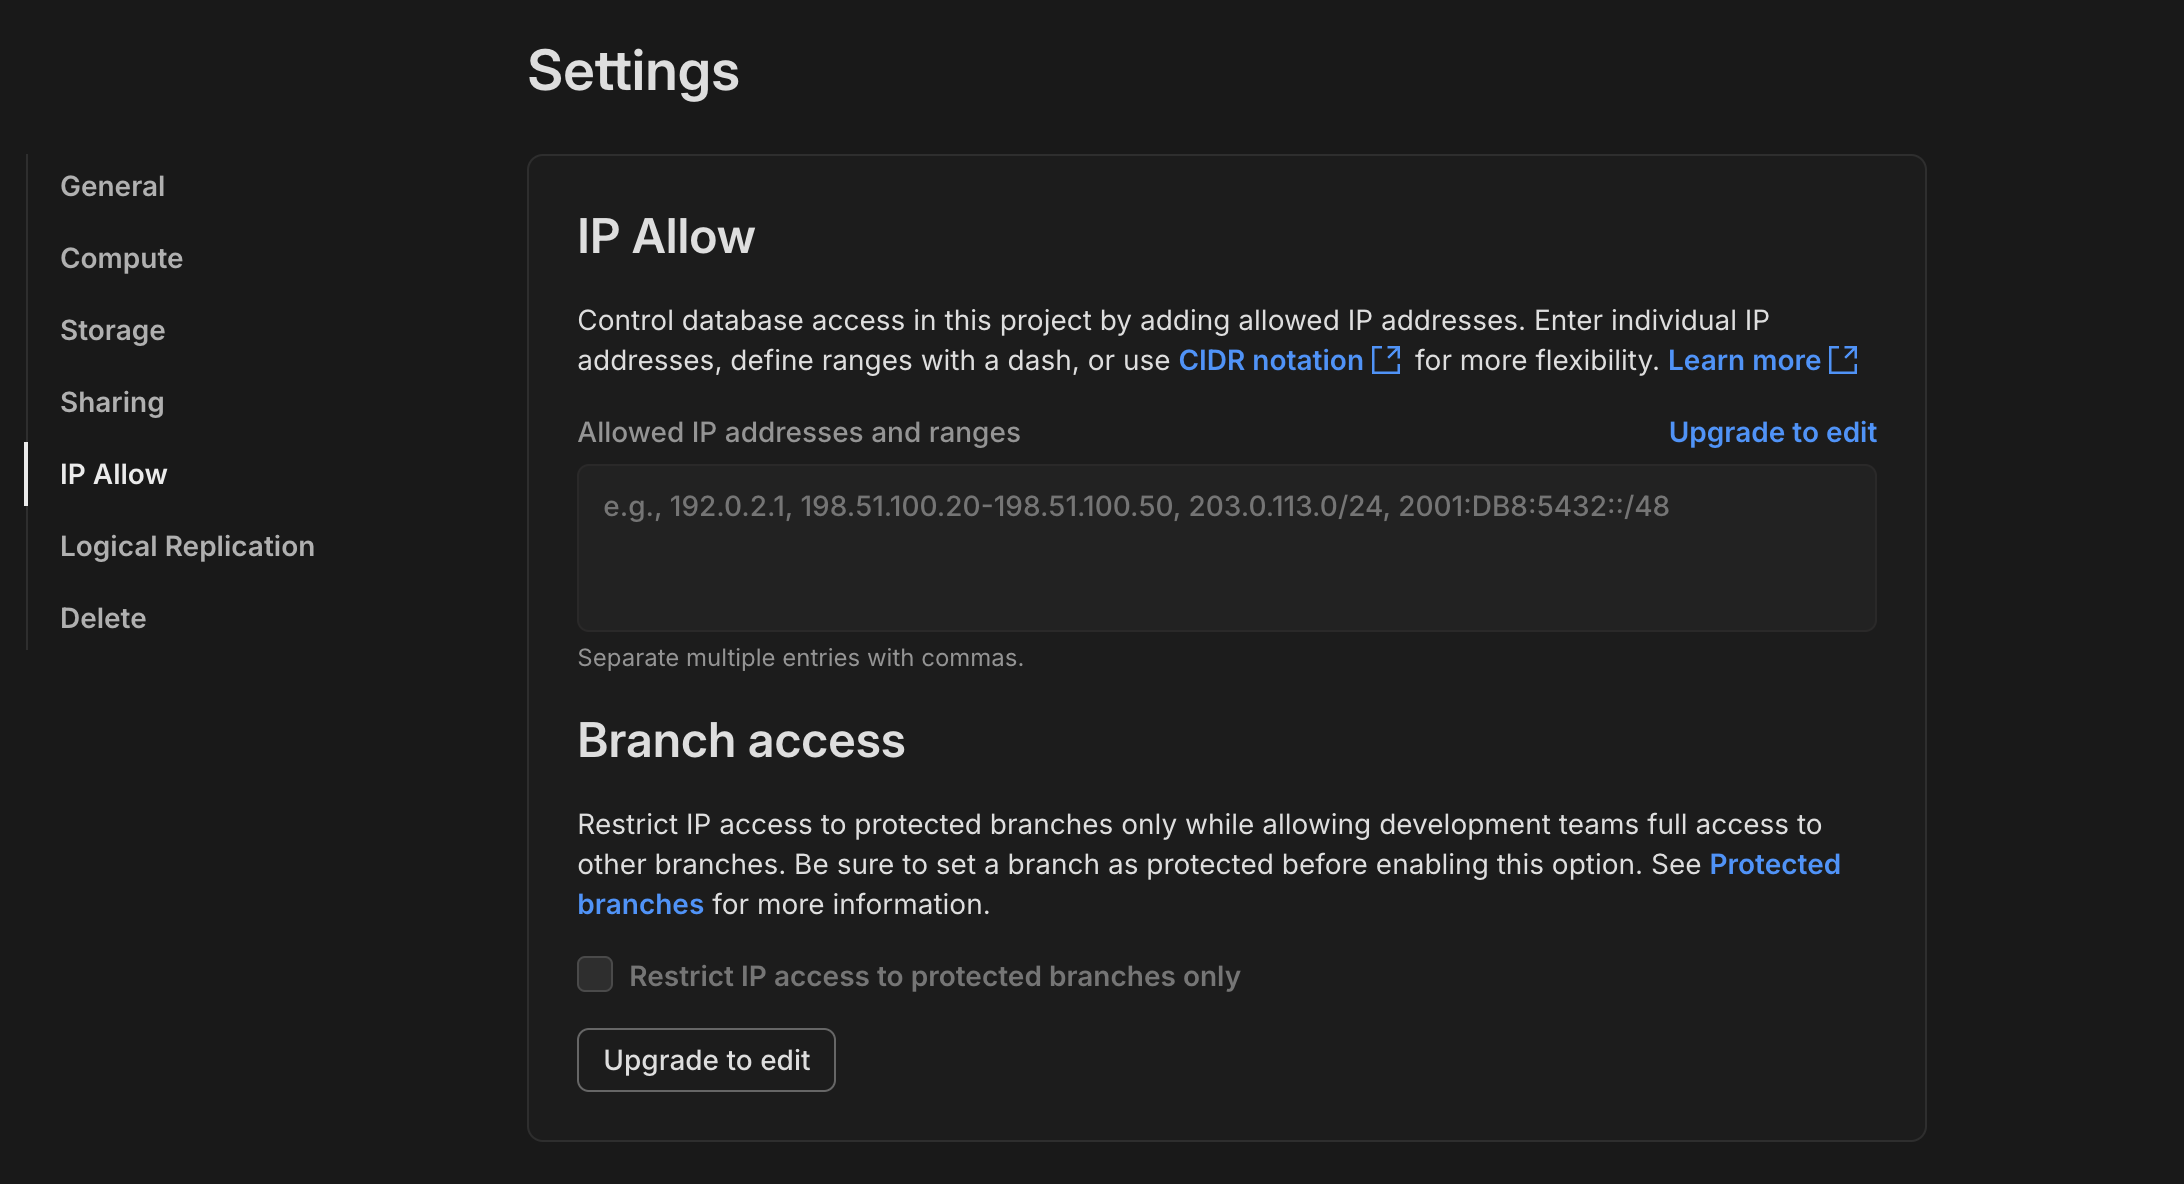
Allow IPs screen
Copy Connection Details
Now that we have the user, publication ready and replication enabled, we can copy the connection details to create a Neon Postgres peer in PeerDB. Head over to the Dashboard and at the text box where it shows the connection string, change the view to Parameters Only. We will need these parameters for our next step.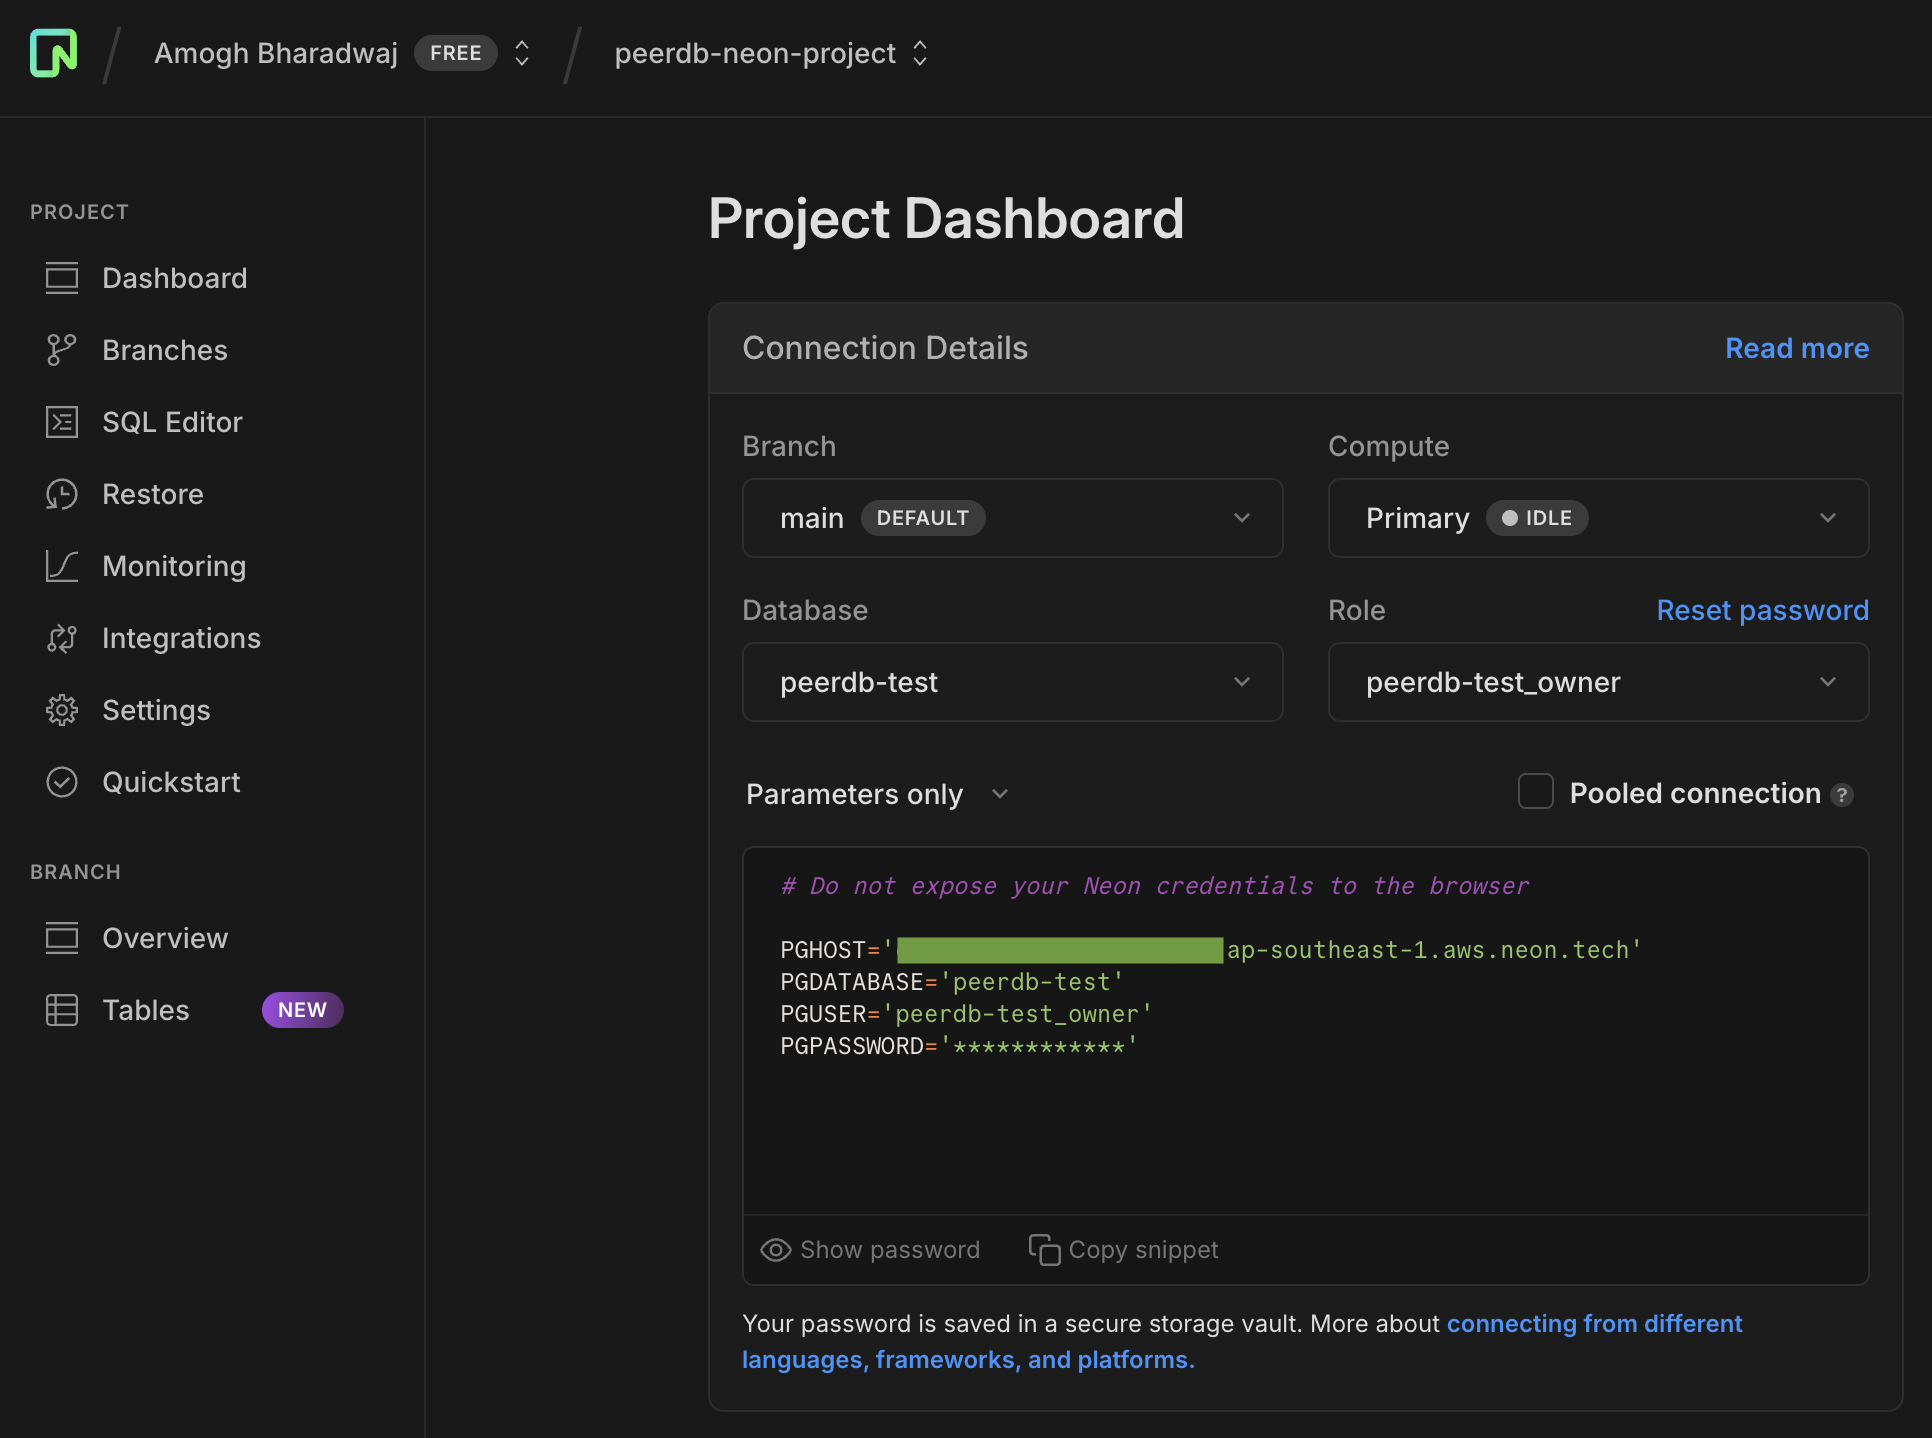
Allow IPs screen
Create Neon Postgres Peer in PeerDB UI
Now that we have the connection details, we can create a Neon Postgres peer in PeerDB. Head over to the PeerDB UI and click on Create Peer. Select Neon as the source.
Select Neon peer
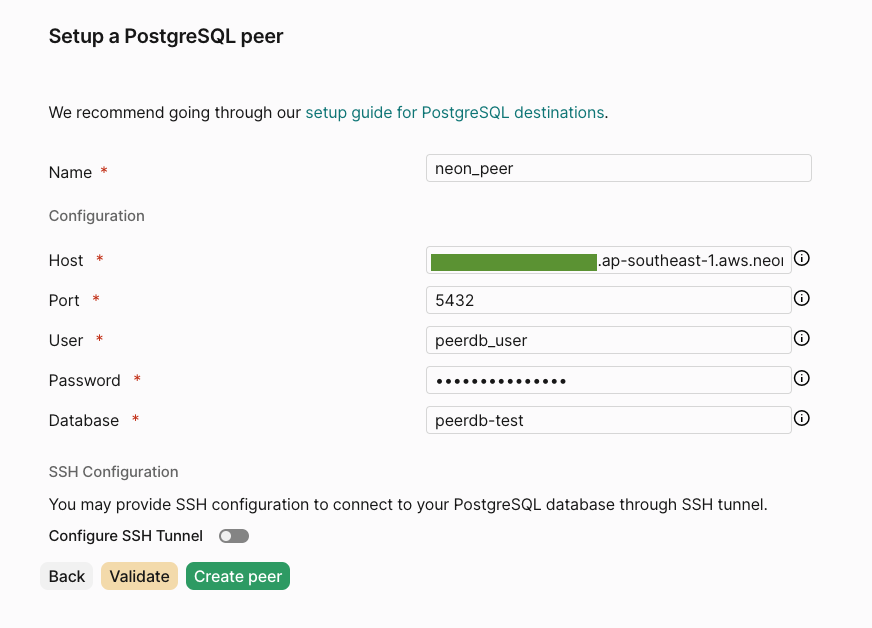
Create the Postgres peer
Important Gotchas
In Neon databases that are idle (no activity), slots can be dropped. To prevent this, you need to ensure that the replication slot actively receives database changes. You can use pg_logical_emit_message()—a system function for emitting a logical decoding message into the WAL. PeerDB picks up the message as part of its WAL processing and flushes the slot at the frequency of the CDC sync interval. You’d need to grant EXECUTE permissions for the peerdb replication user on this function:PEERDB_ENABLE_WAL_HEARTBEAT: Set this totrue(no quotes or anything)PEERDB_WAL_HEARTBEAT_QUERY: Set this to the emit_message function call command to be run periodically: