Supported Postgres versions
Anything on or after Postgres 12Enable Logical Replication
You don’t need to follow the below steps if the settingscloudsql. logical_decoding is on and wal_sender_timeout is 0. These settings should mostly be pre-configured if you are migrating from another data replication tool.
- Click on Edit button on the Overview page.
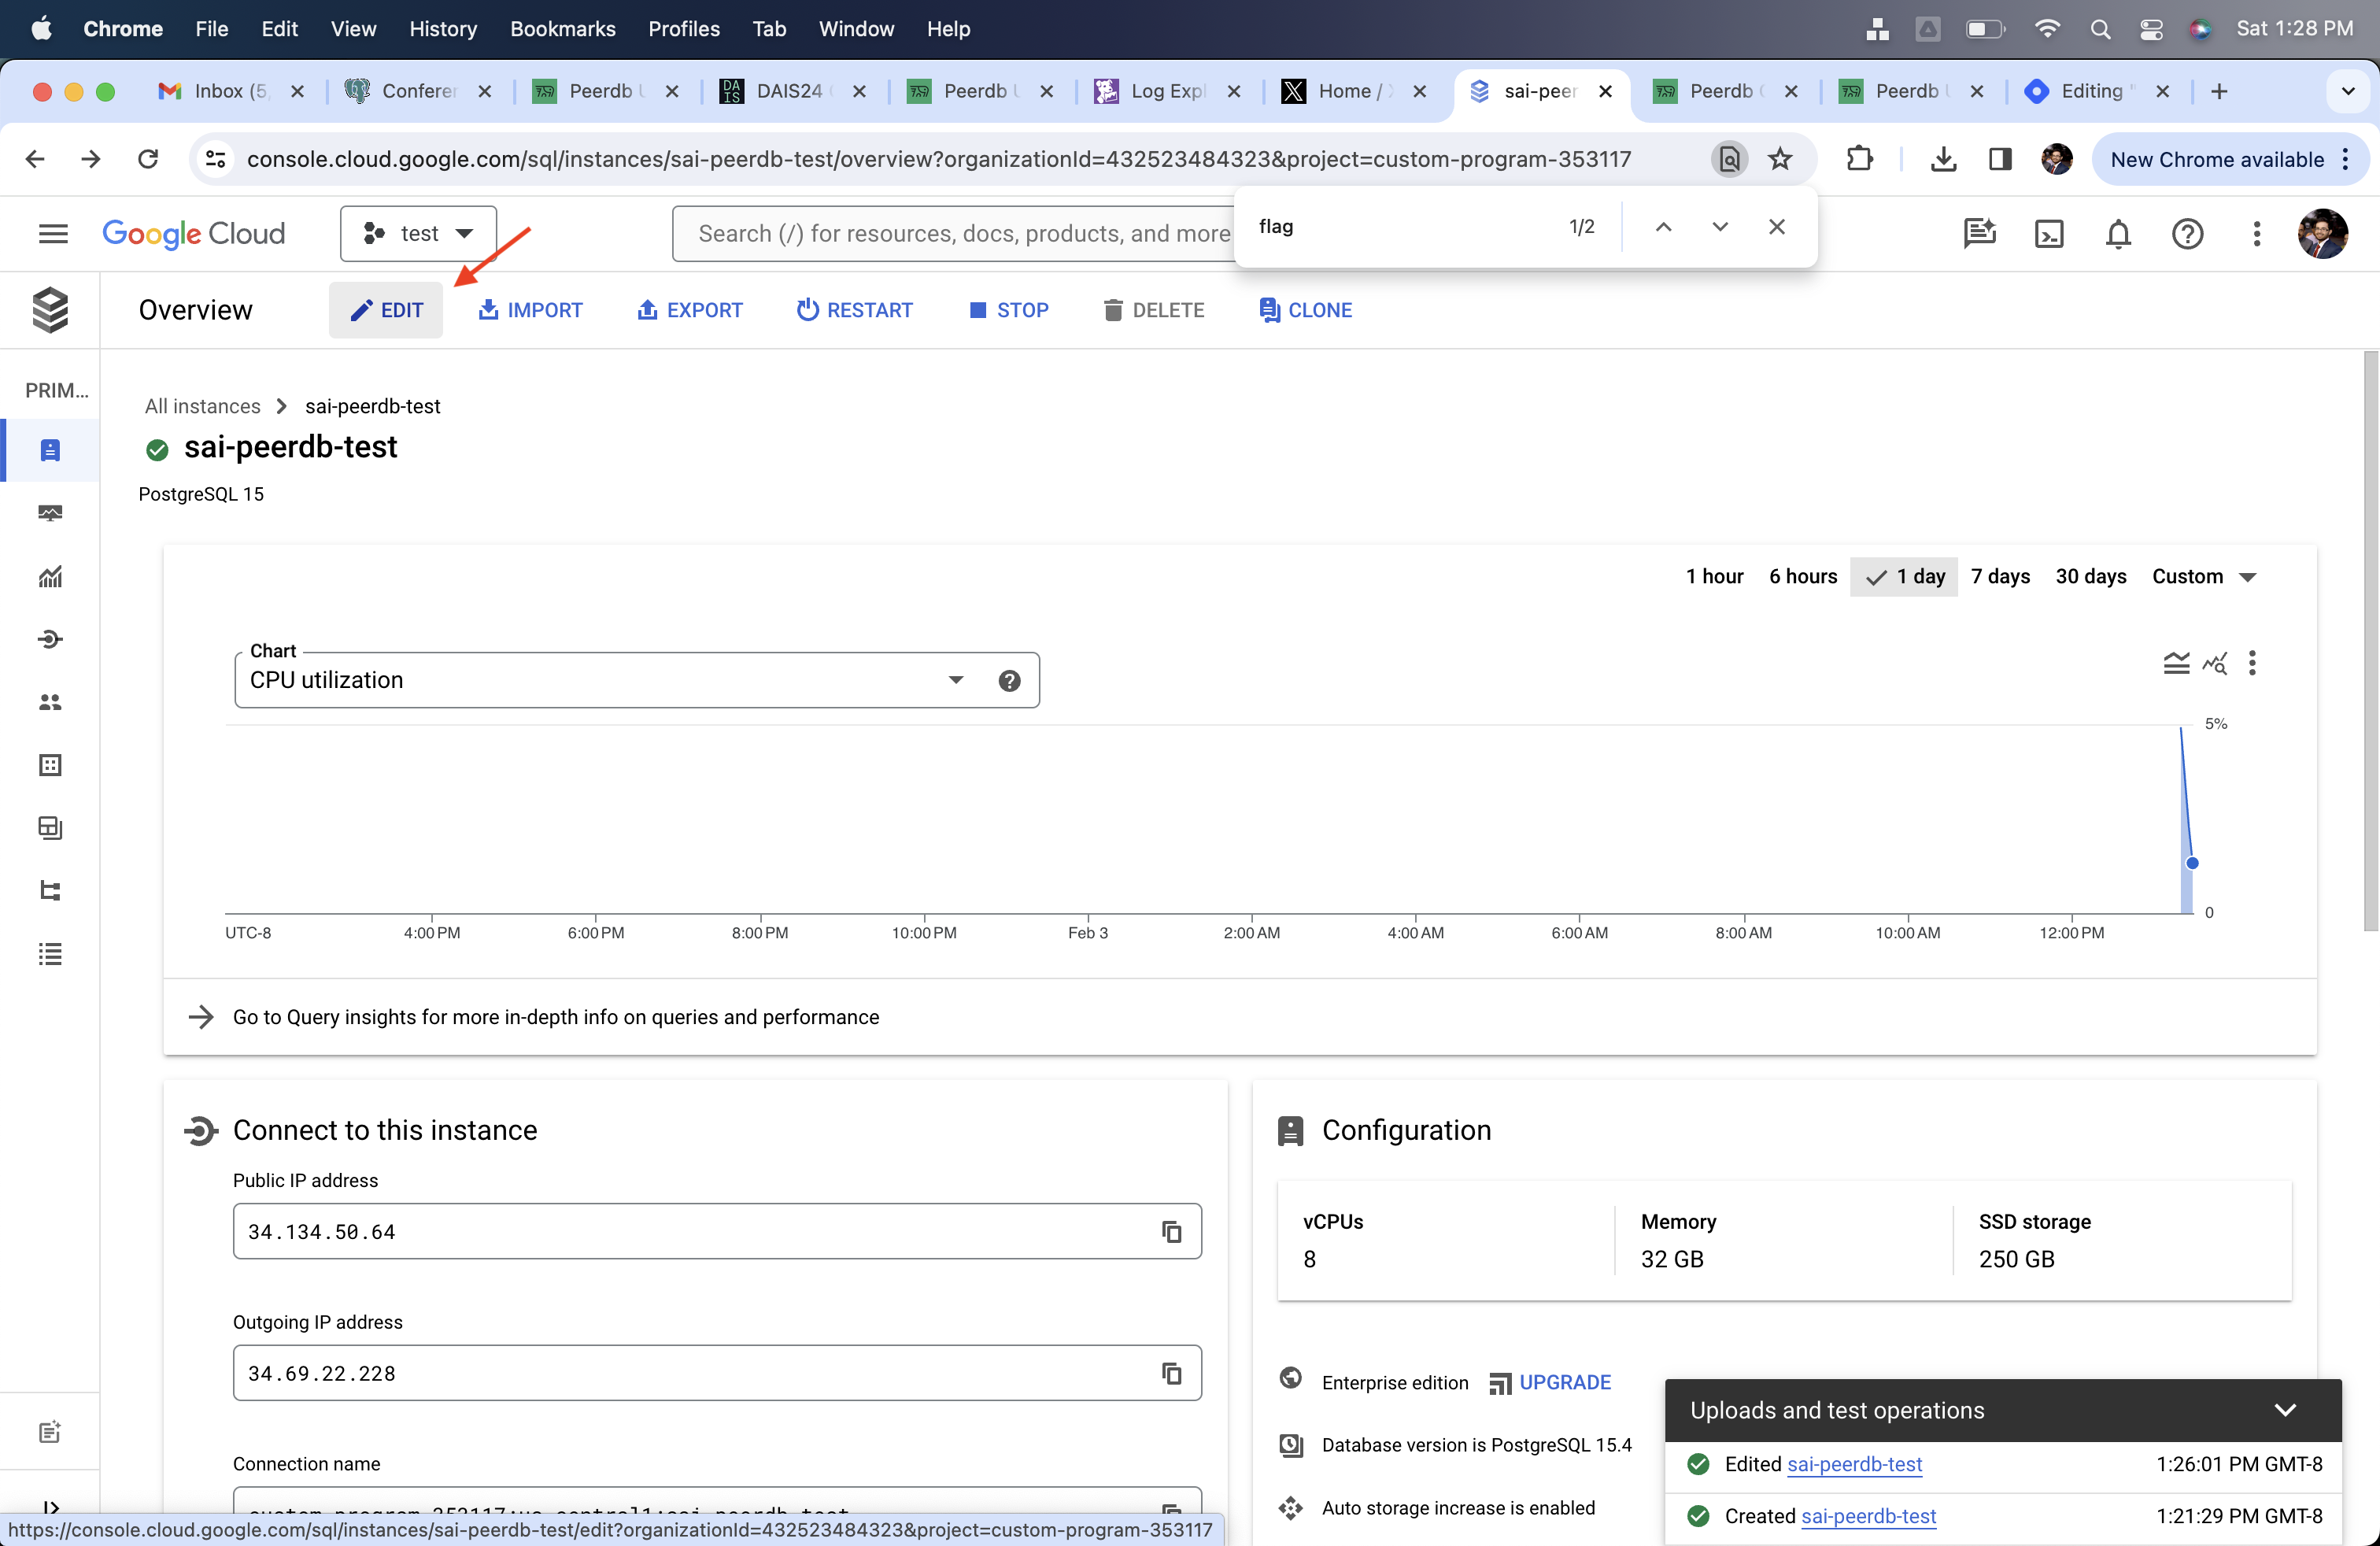
Edit Button in CloudSQL Postgres
- Go to Flags and change
cloudsql.logical_decodingto on andwal_sender_timeoutto 0. These changes will need restarting your Postgres server.

Change cloudsql.logical_decoding to on
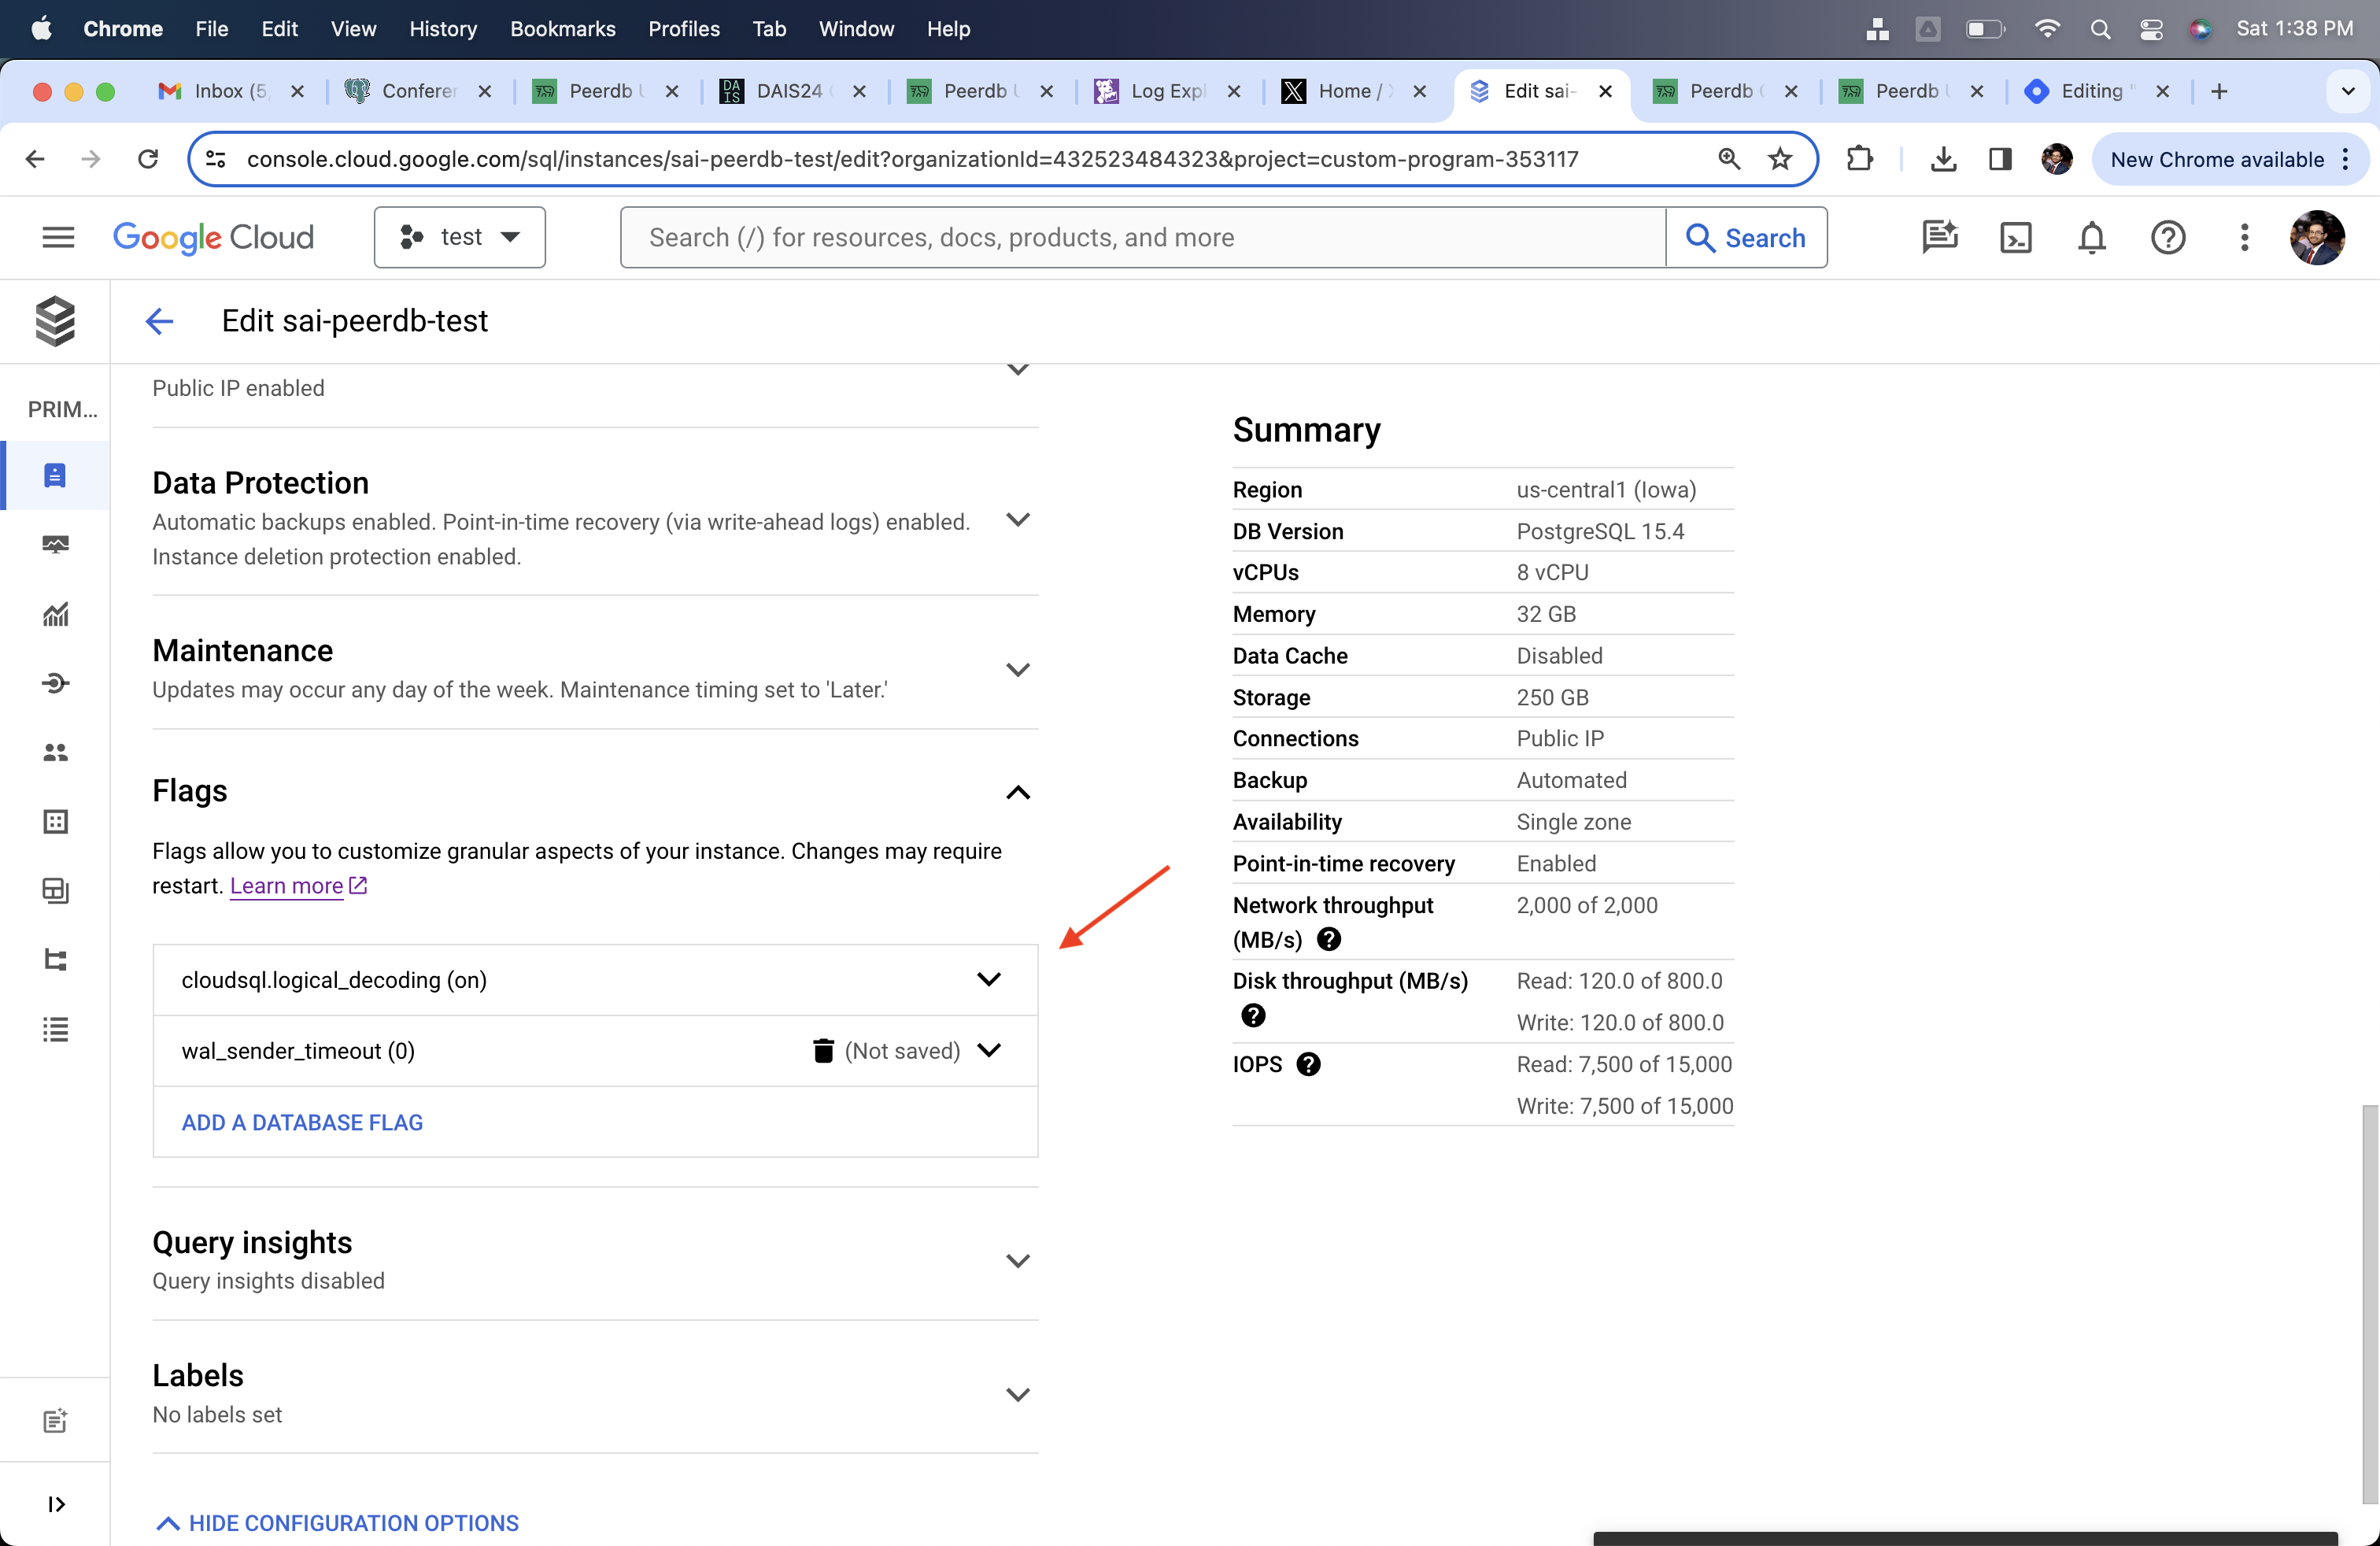
Changed cloudsql.logical_decoding and wal_sender_timeout

Restart Server
Creating PeerDB User and Granting permissions
Connect to your CloudSQL Postgres through the admin user and run the below commands:-
Create a dedicated user for PeerDB:
-
-
Grant schema-level, read-only access to the user you created in the previous step. The following example shows permissions for the
publicschema. Repeat these commands for each schema containing tables you want to replicate: -
-
Grant replication privileges to the user:
-
-
Create a publication with the tables you want to replicate. We strongly recommend only including the tables you need in the publication to avoid performance overhead.
Any table included in the publication must either have a primary key defined or have its replica identity configured to
FULL.- To create a publication for specific tables:
-
To create a publication for all tables in a specific schema:
peerdb_publicationpublication will contain the set of change events generated from the specified tables, and will later be used to create the MIRROR (replication).
The PeerDB user must not be restricted by RLS policies, as it can lead to missing data. You can disable RLS policies for the user by running the below command:
PeerDB SSH Tunneling Guide (Optional)
Sometimes to connect to your Postgres database you may need PeerDB to use an SSH tunnel. This is typically used when your database is not publicly accessible and you need to connect to it a jump server in your VPC. This is done by creating an SSH tunnel to your jump server and then connecting to the database through the tunnel. All of this is handled by PeerDB natively.1
Generate a key-pair
Generate a key-pair using the following command:This will generate a private key (
peerdb_key.pem) and a public key (peerdb_key.pub).2
Add public key to your jump server
Add the public key to your jump server. This can be done by adding the public key to the
~/.ssh/authorized_keys file on the jump server.3
Add private key to the connection
When creating a Postgres peer you can specify the option to use an SSH tunnel. There you will be able to provide the private key you generated in the first step along with the jump server details.
Add PeerDB Cloud IPs to Firewall
If you are using PeerDB Cloud, please follow the below steps to add PeerDB IPs to your network.If your are using SSH Tunnel, then you need to add the PeerDB Cloud IPs to the firewall rules of the Jump Server/Bastion.
- Go to Connections section
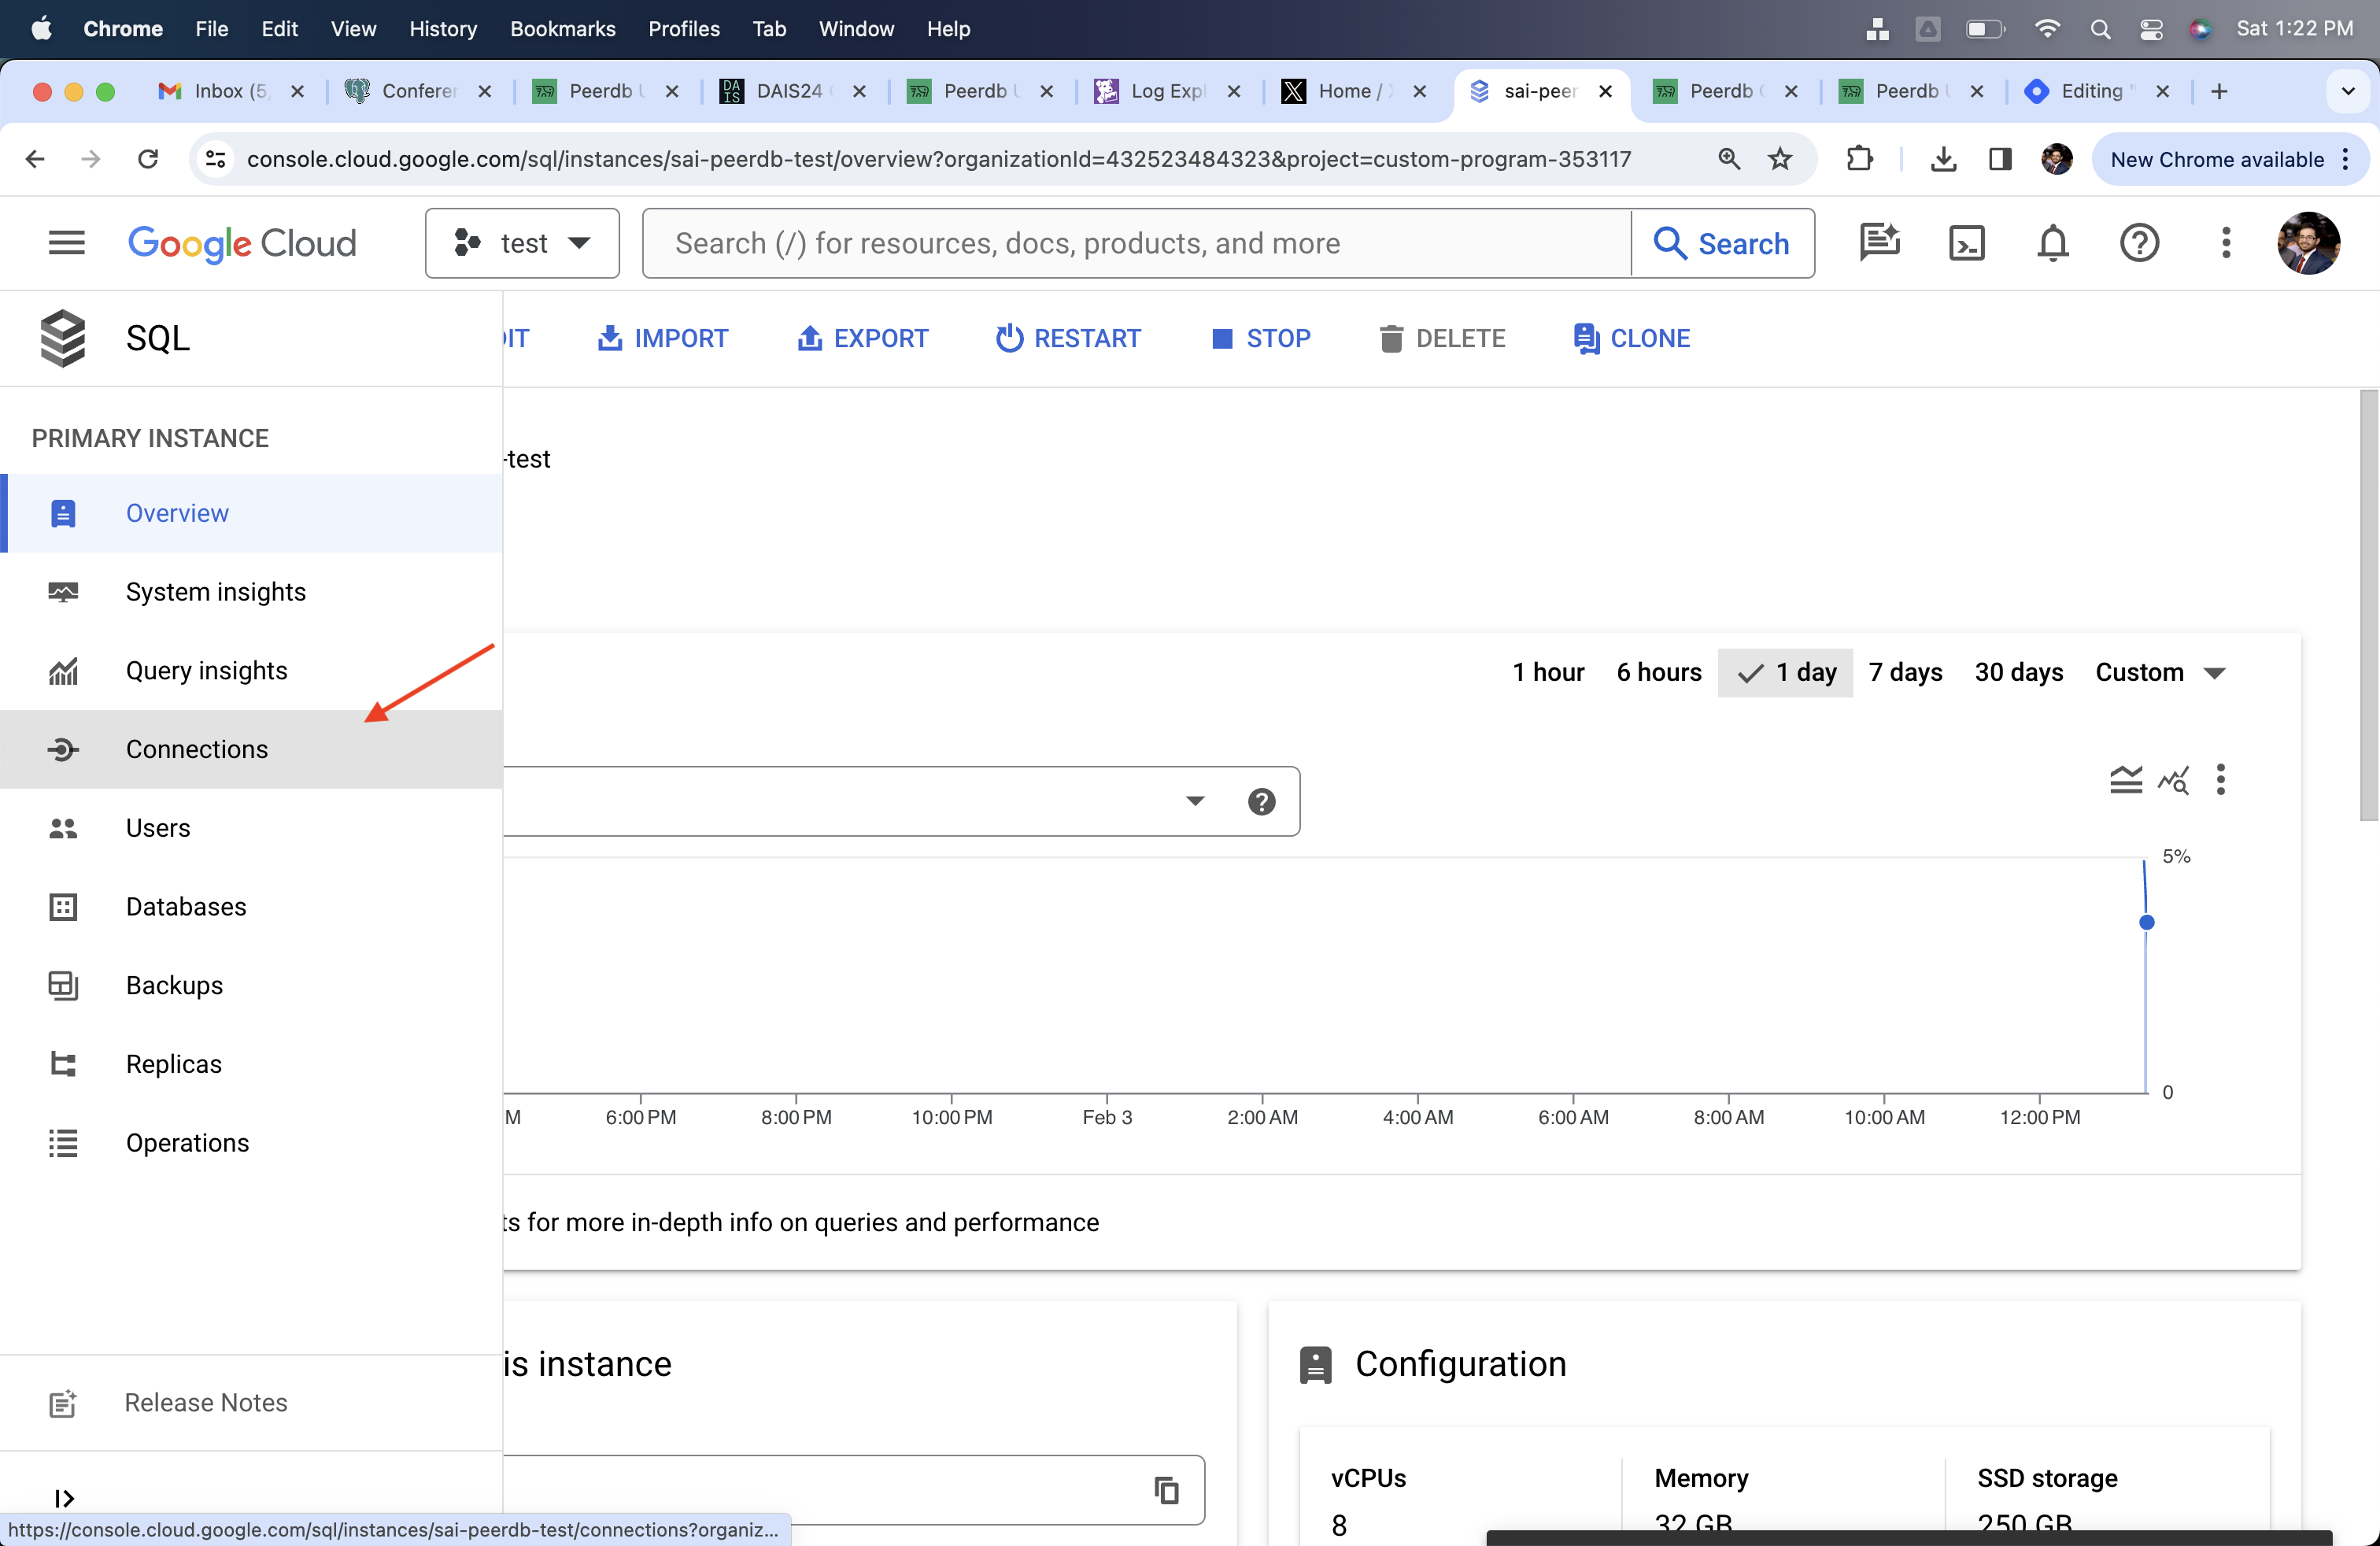
CloudSQL Connection Connection Section
- Go to the Networking subsection
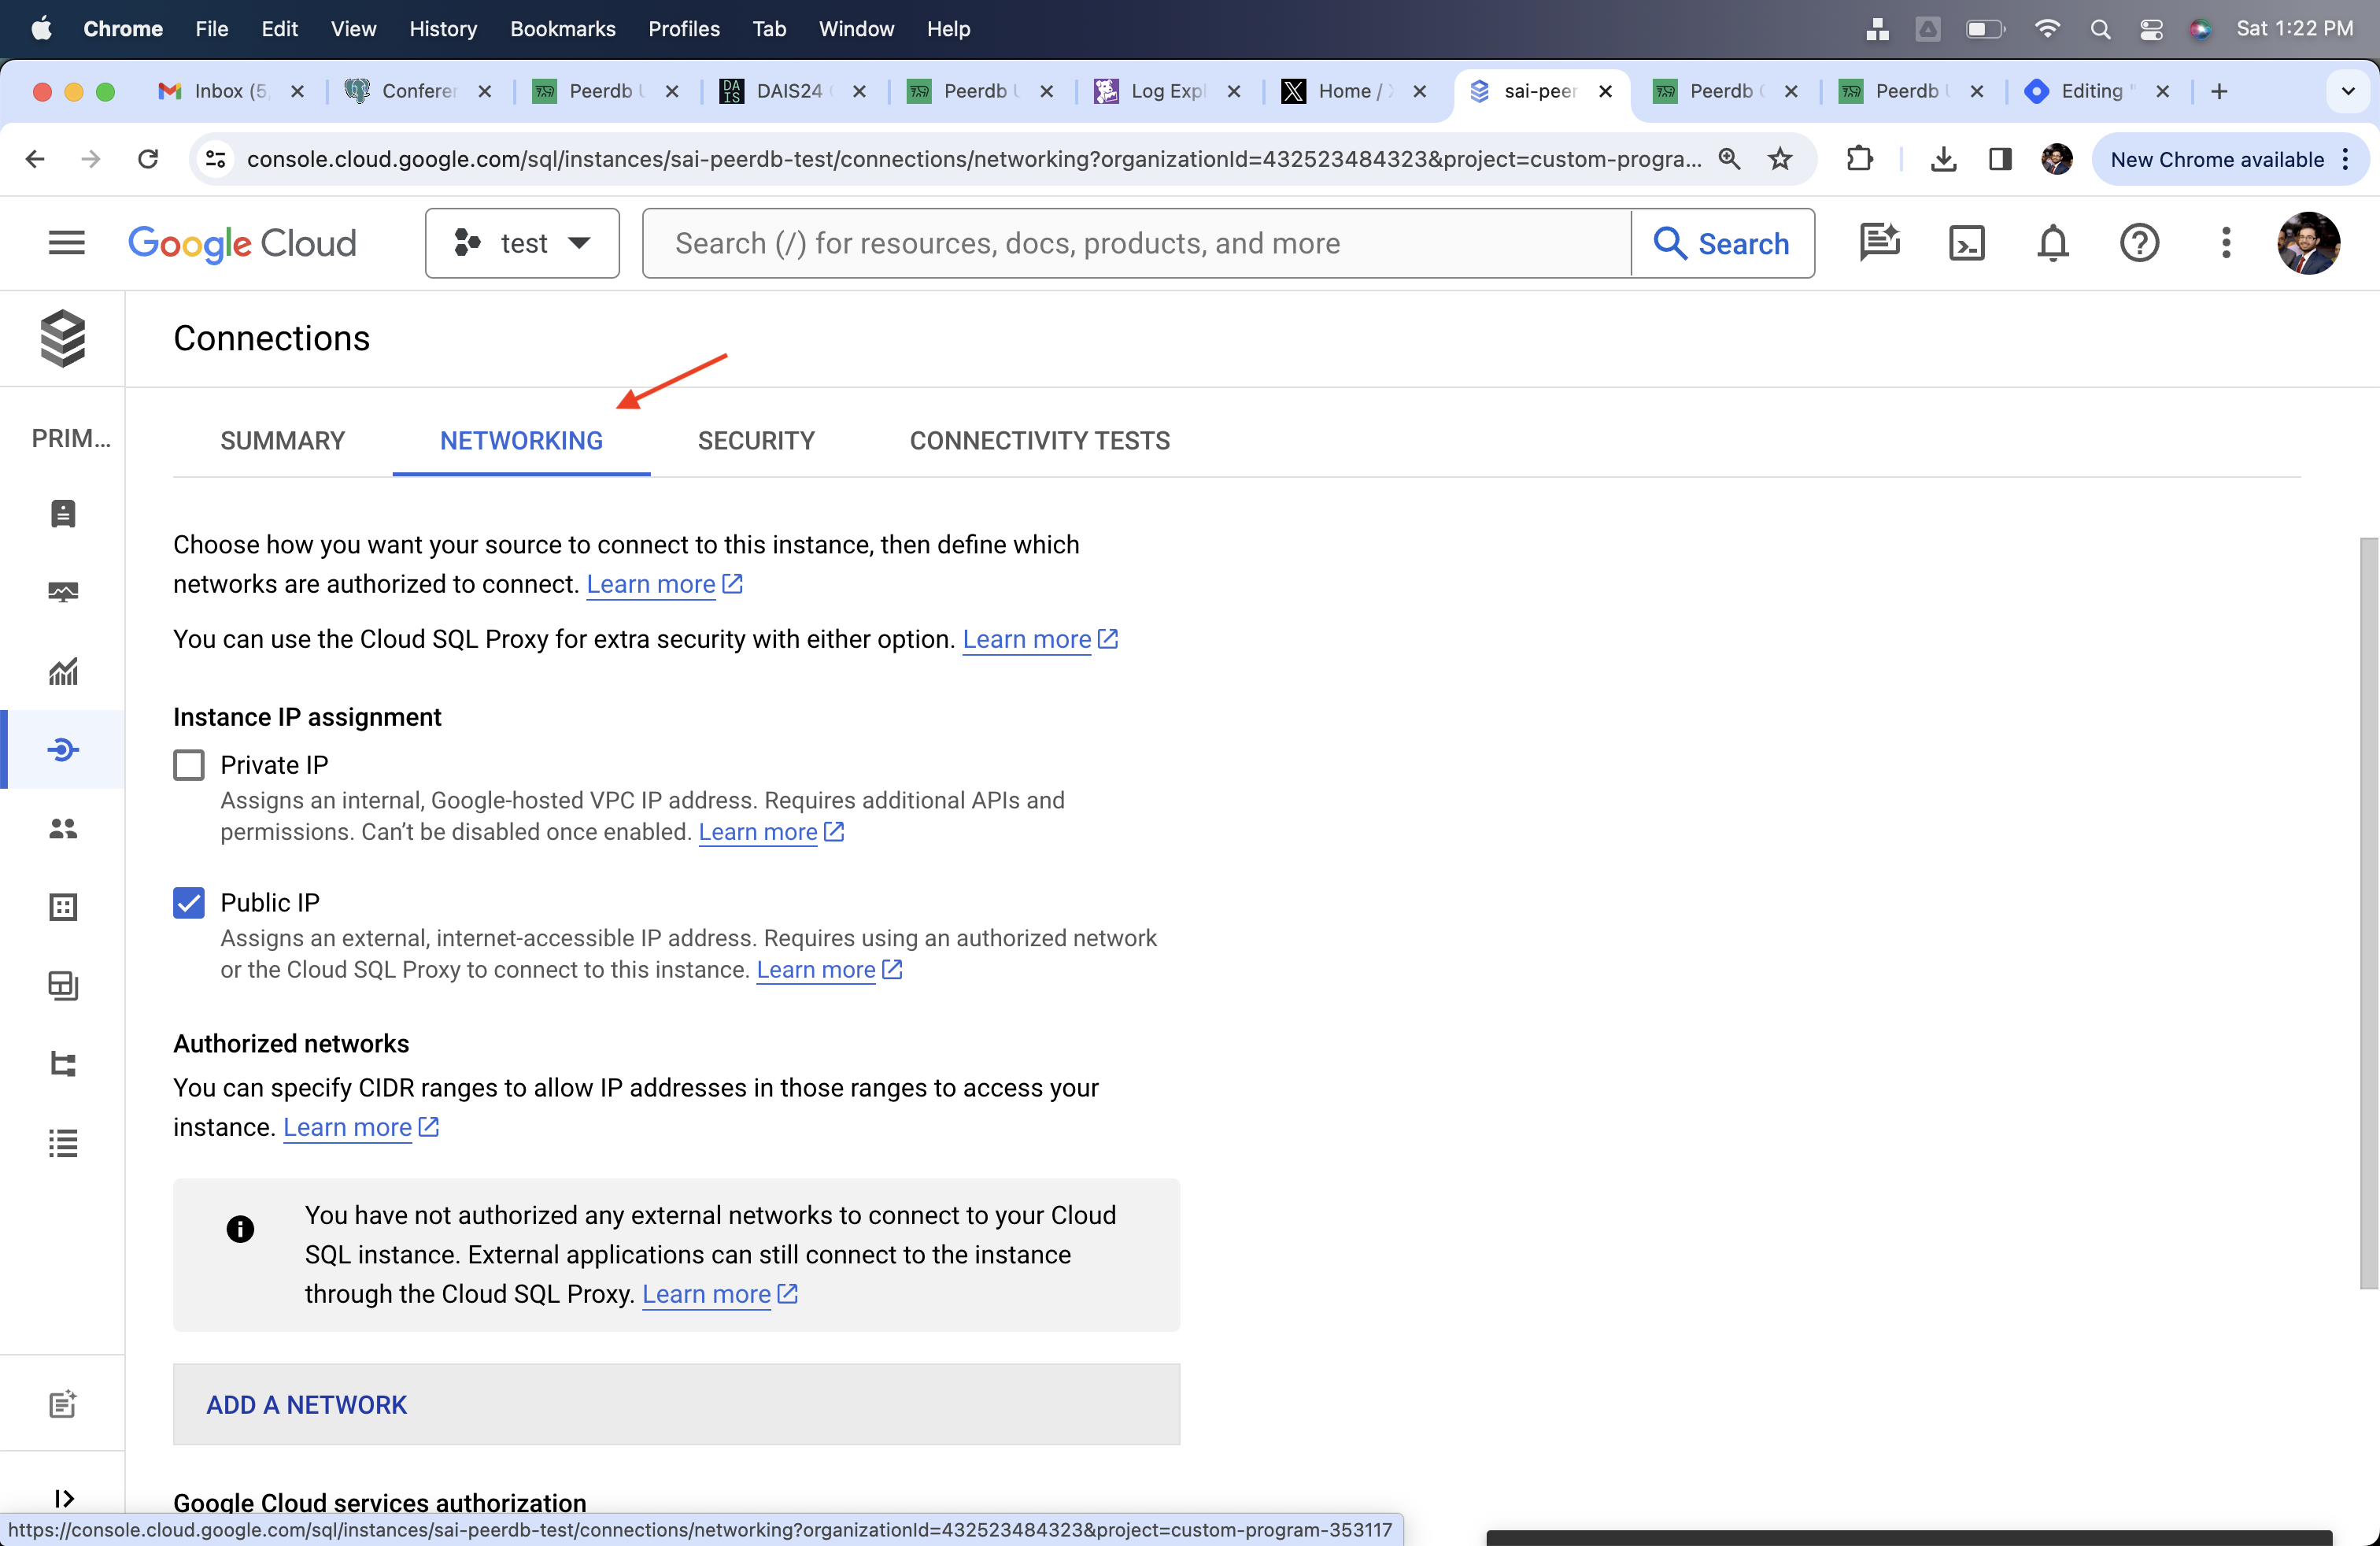
Networking Sub Section in the Conenction Section
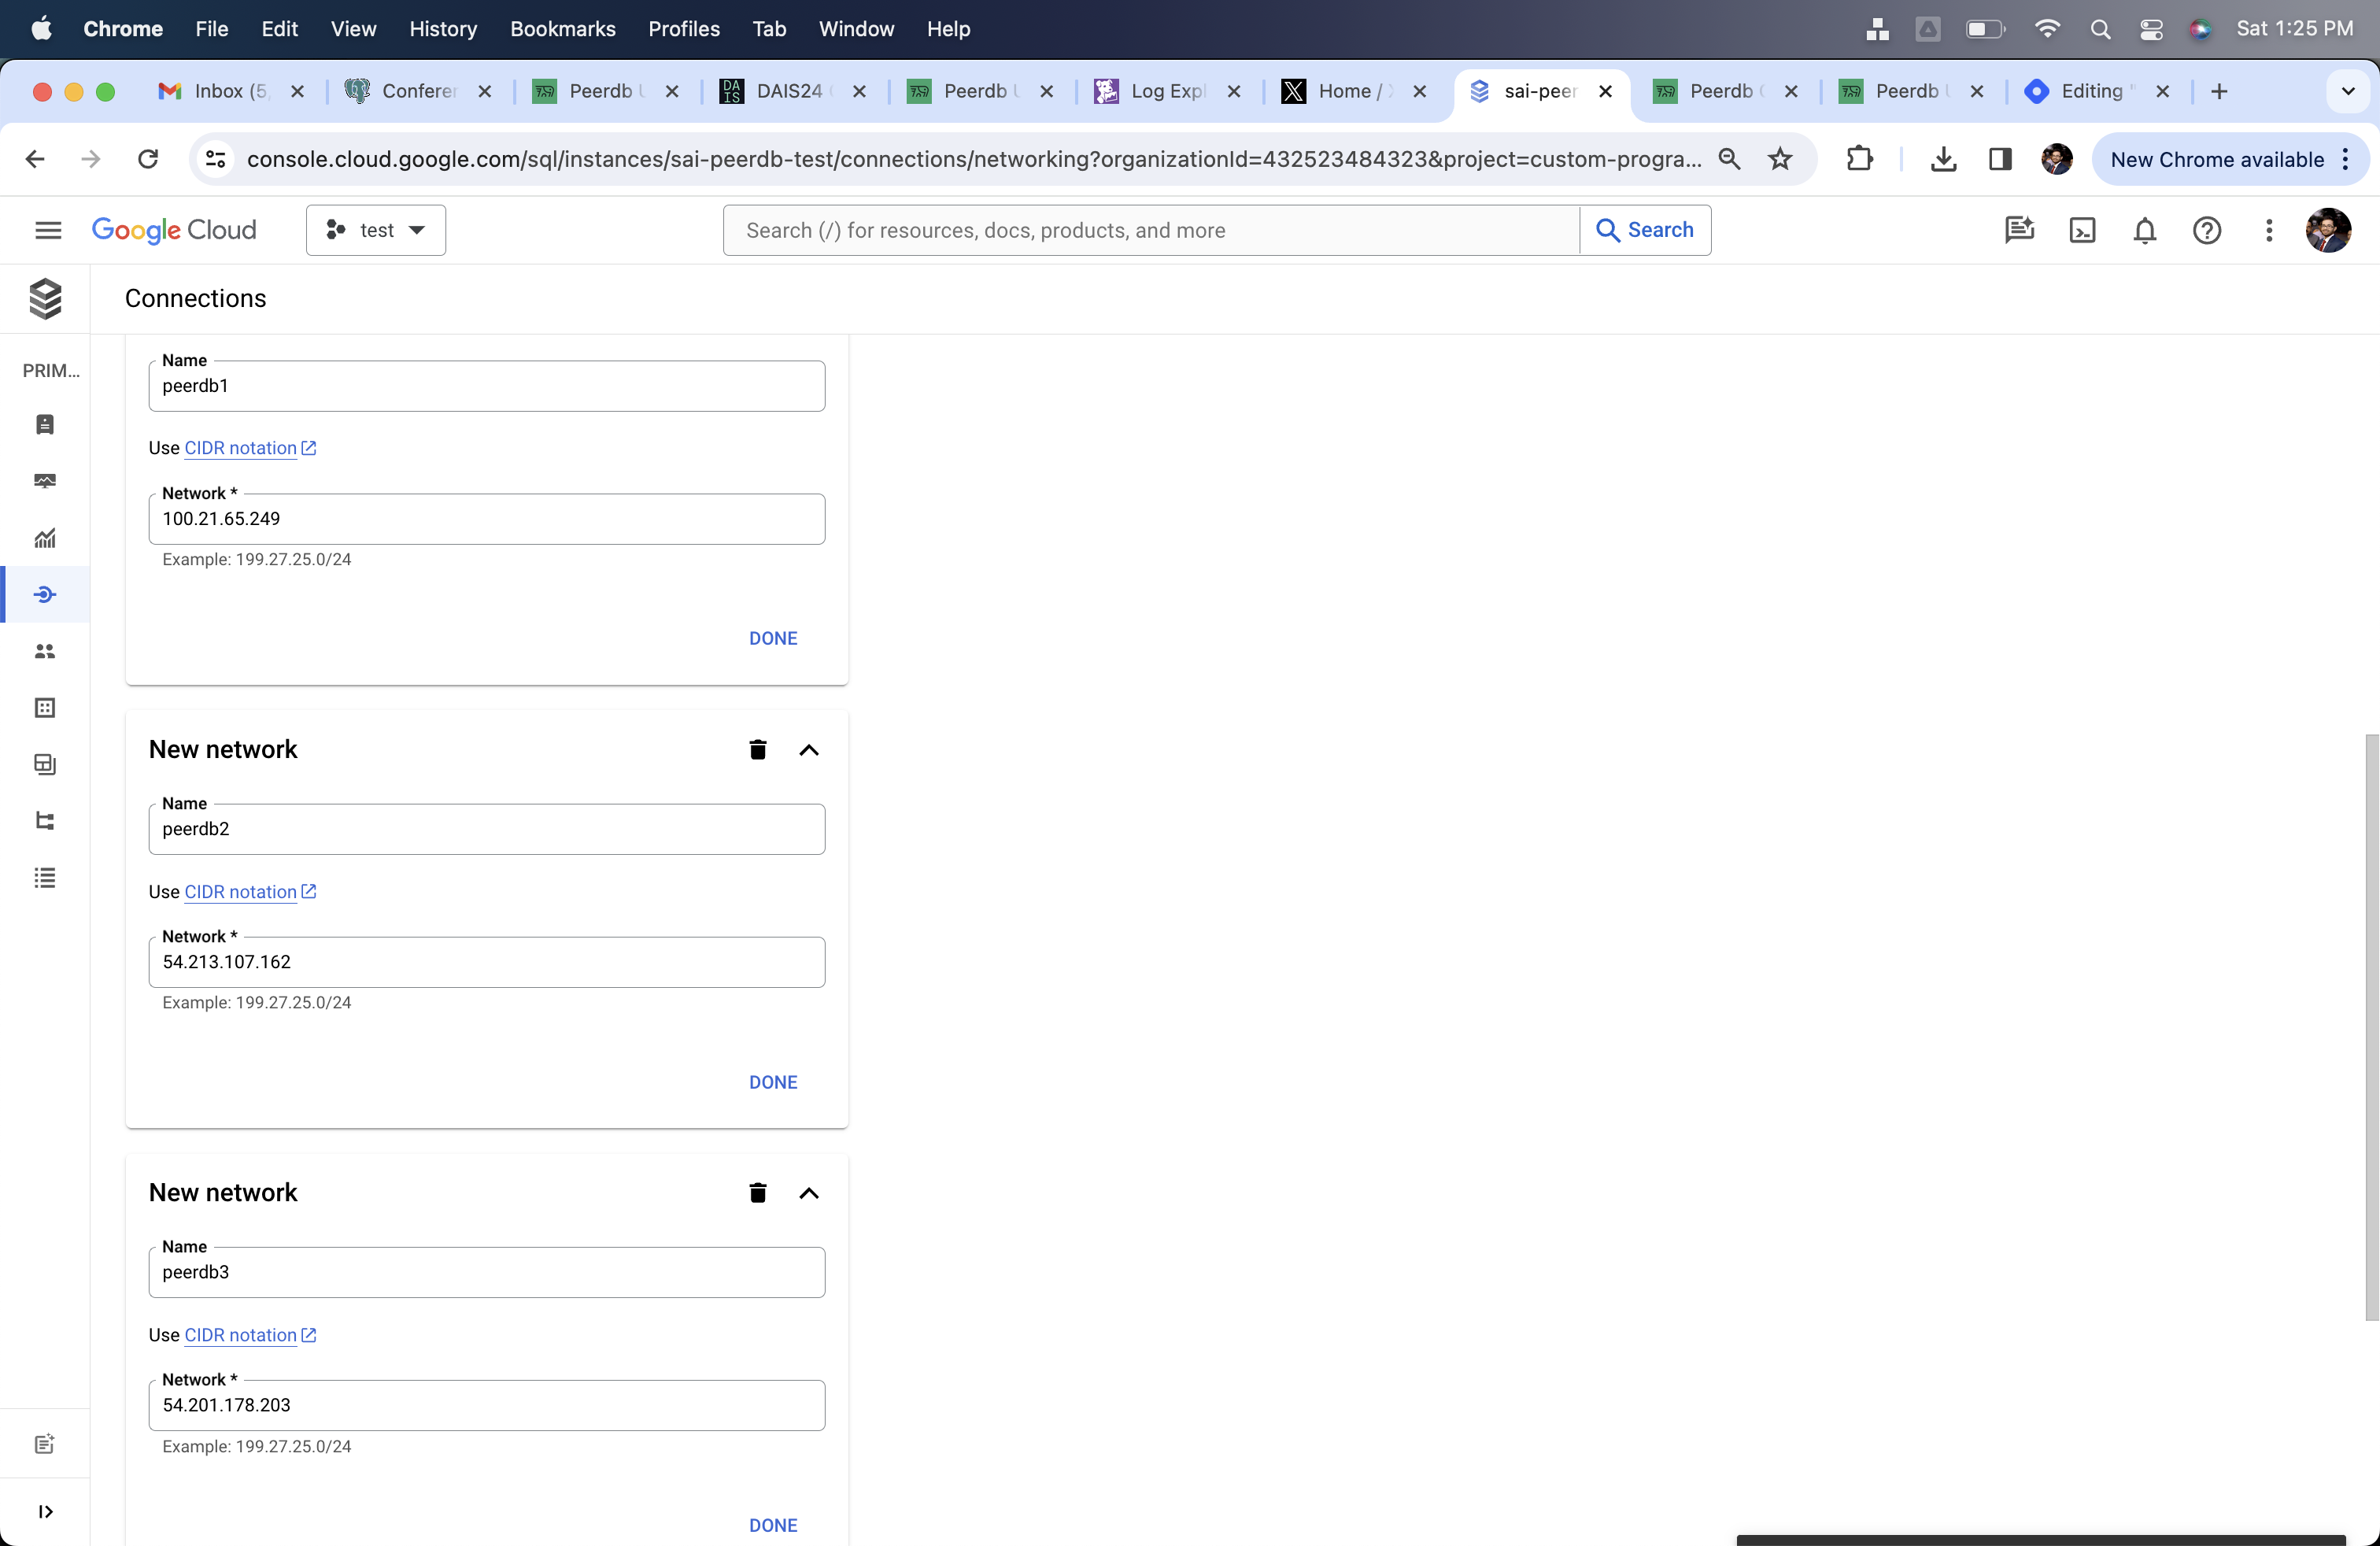
Add PeerDB Networks
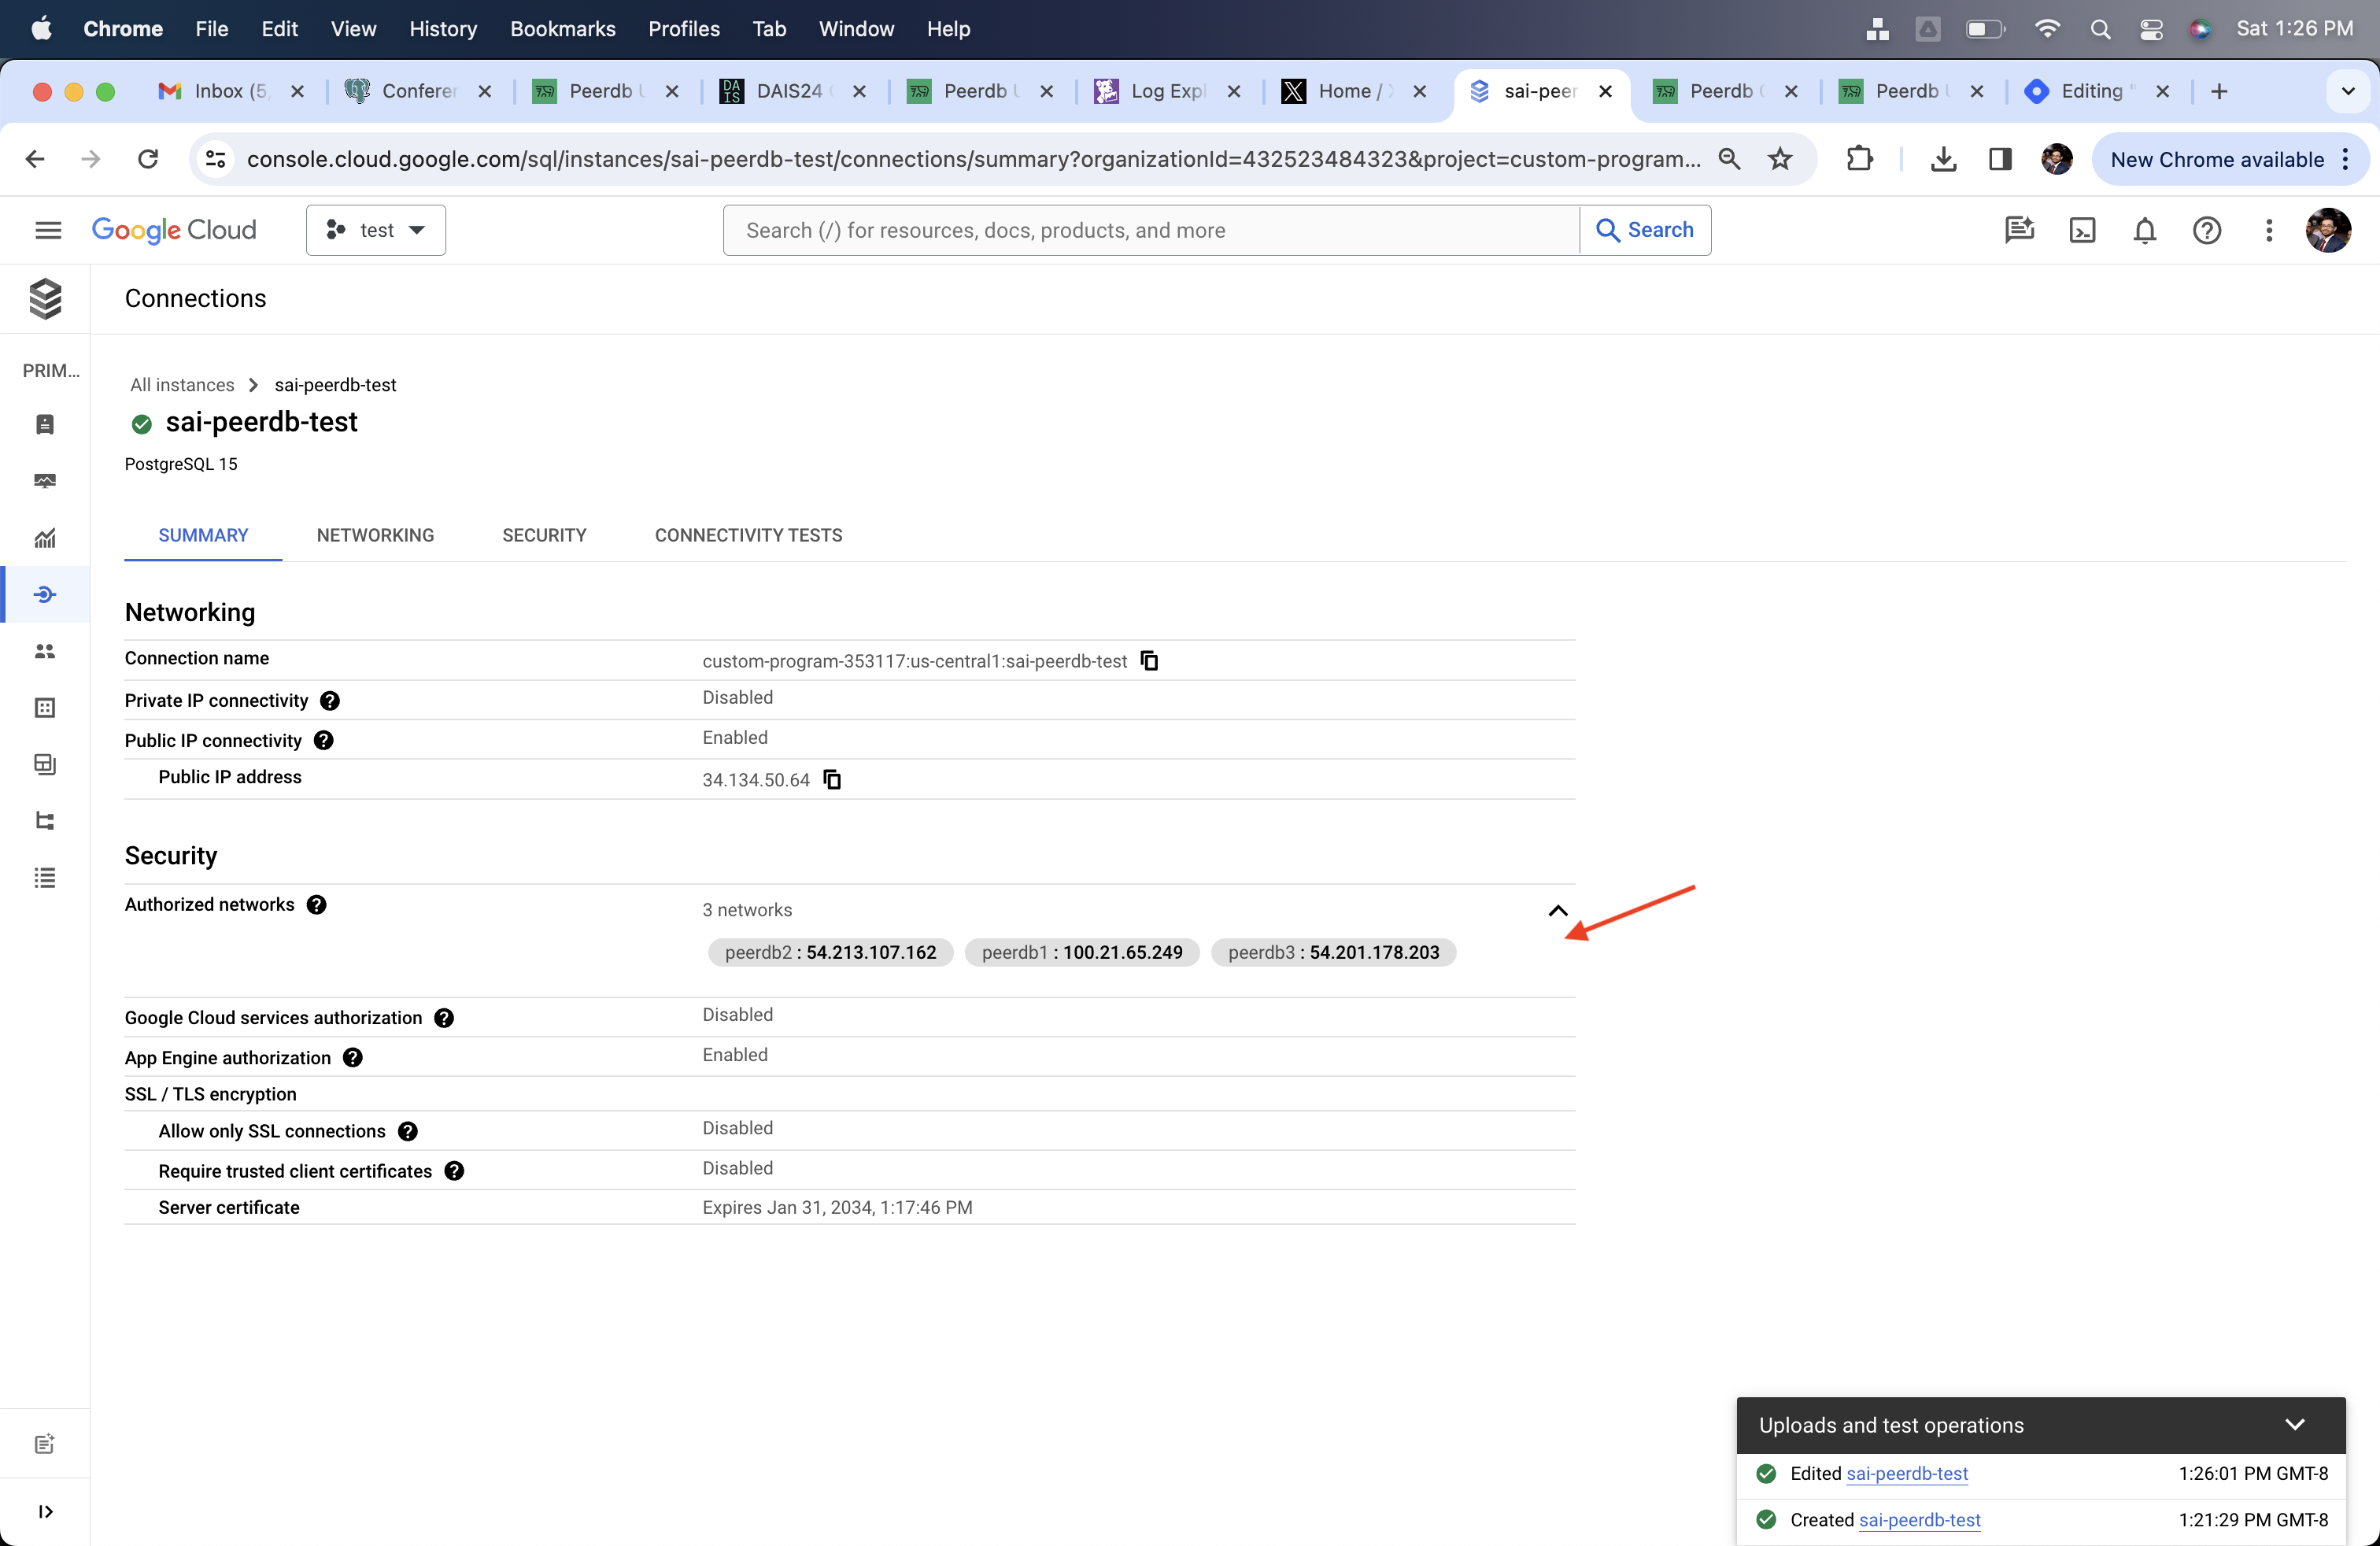
PeerDB Networks Added
Create CloudSQL Postgres Peer in PeerDB
Through the PeerDB UI, create the CloudSQL Peer using thepeerdb_user that you created in the previous step.
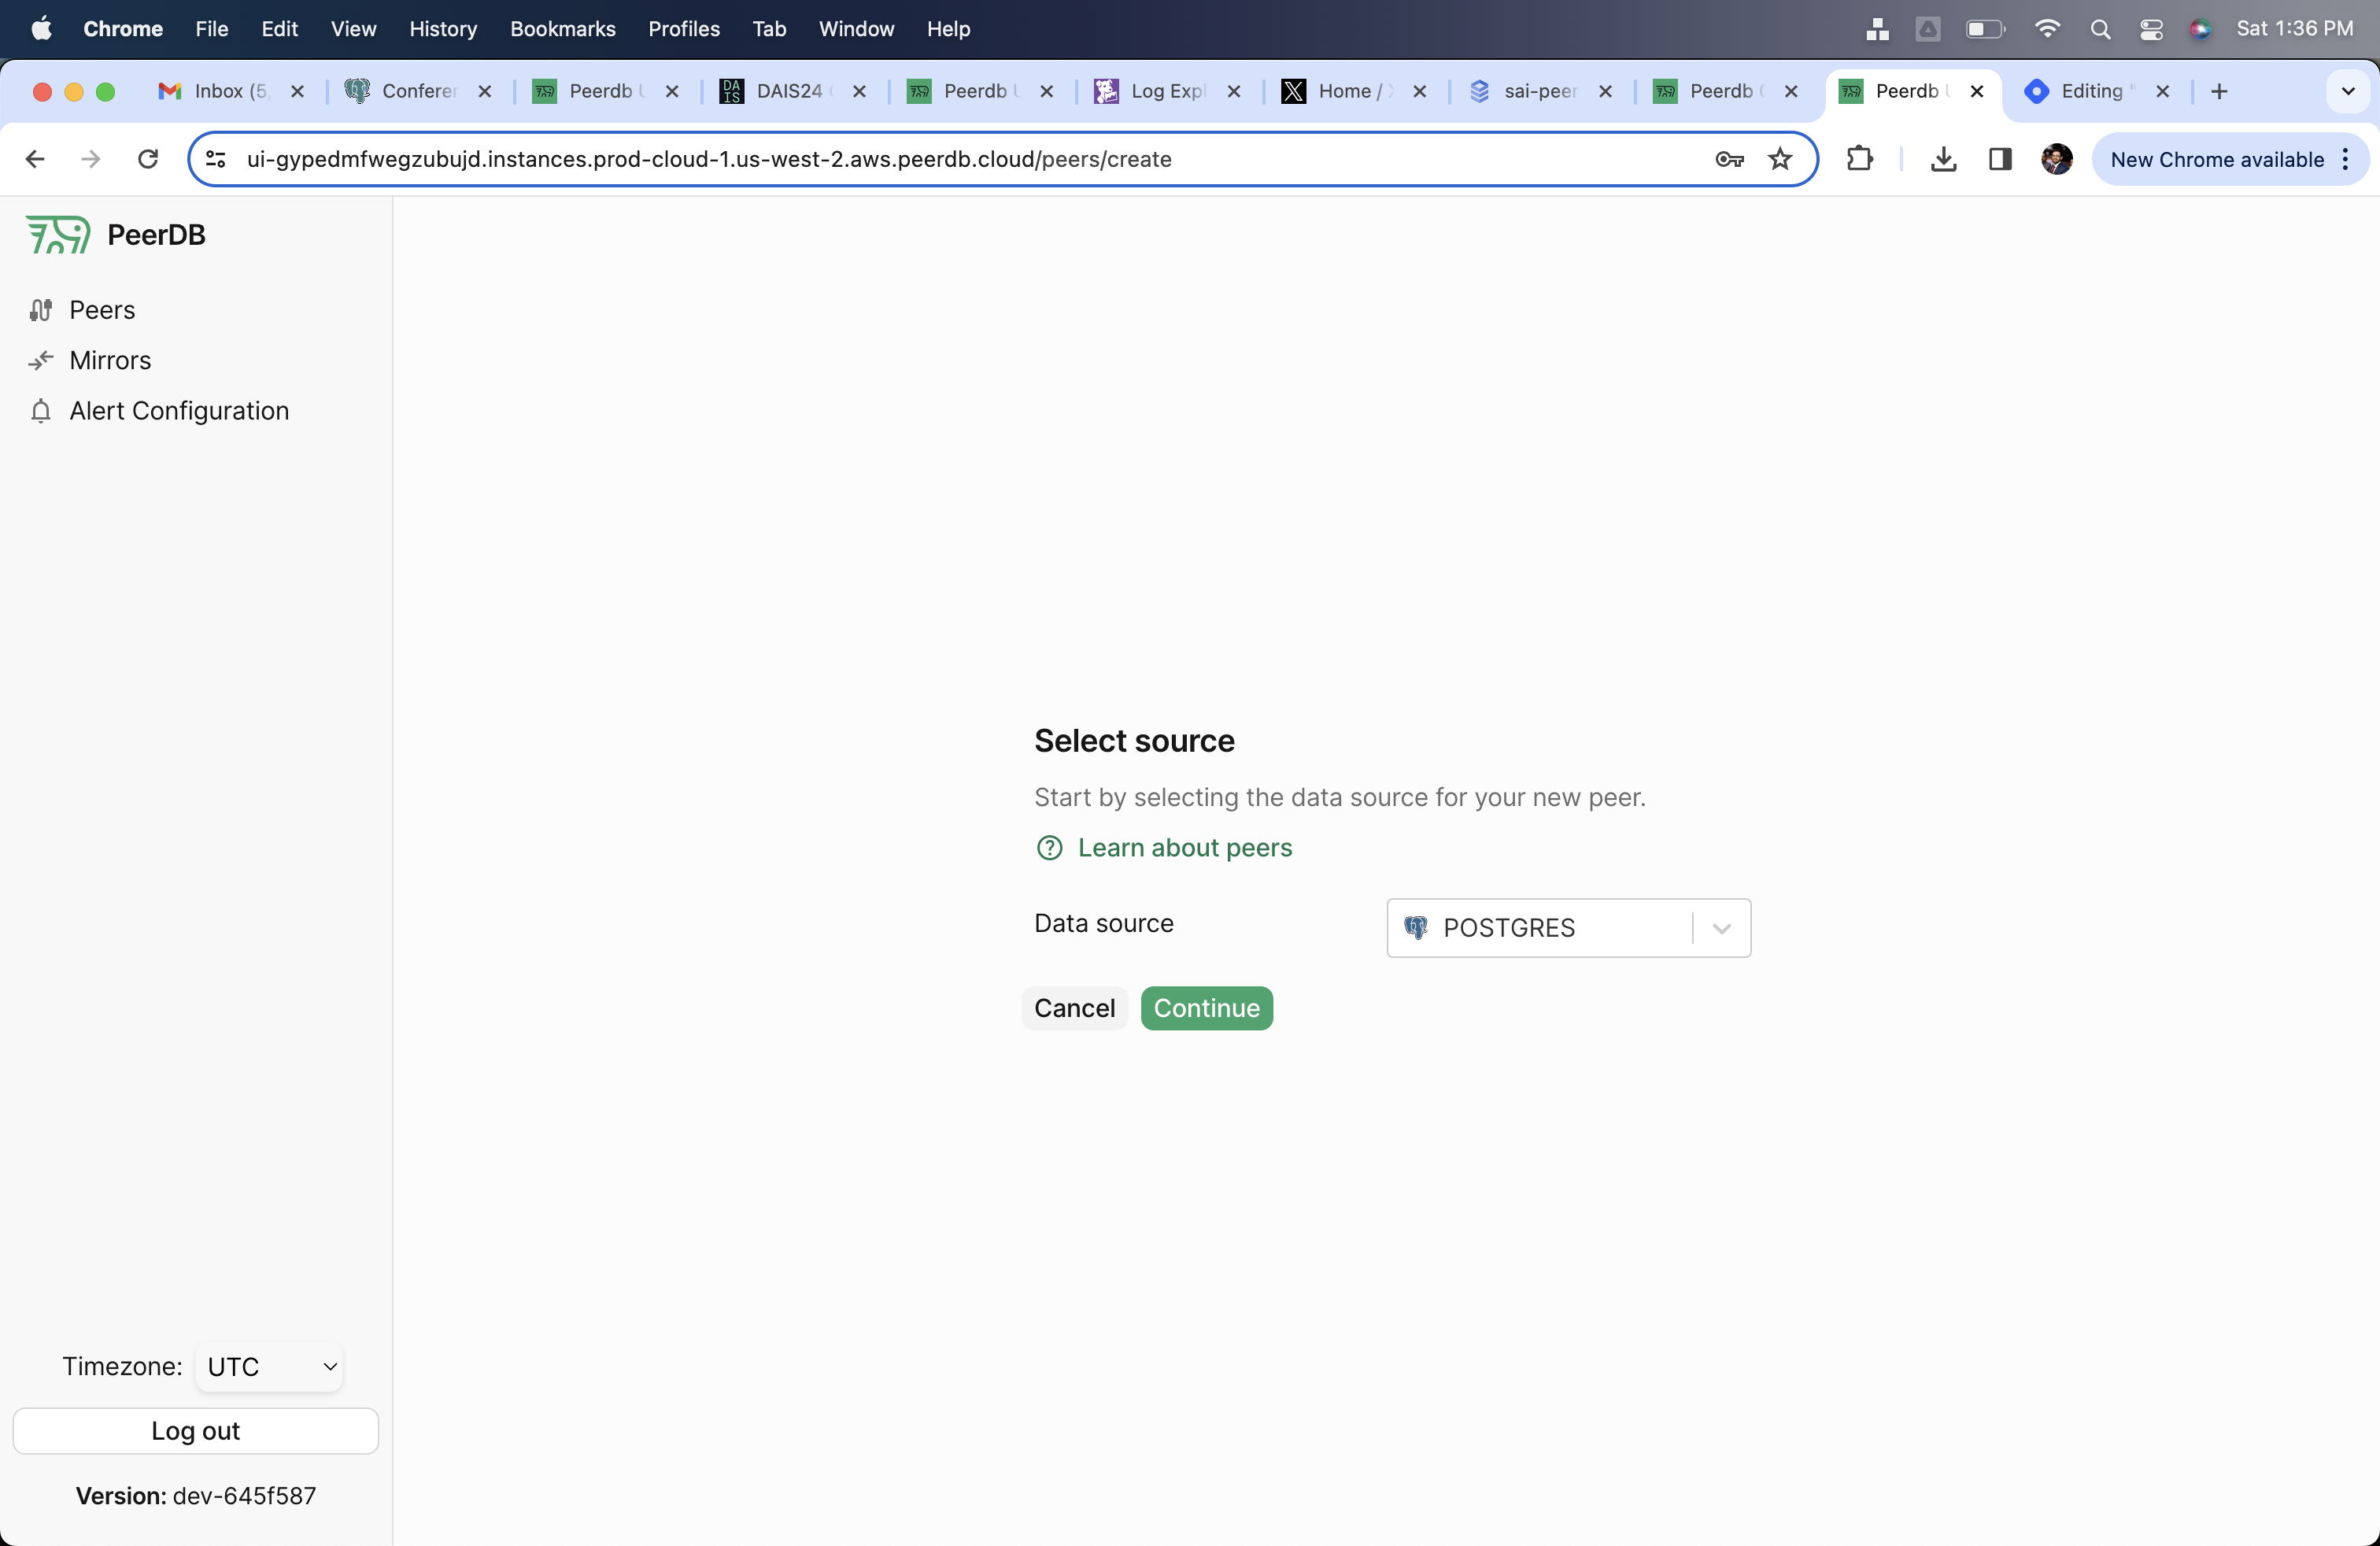
Choose PostgreSQL Peer
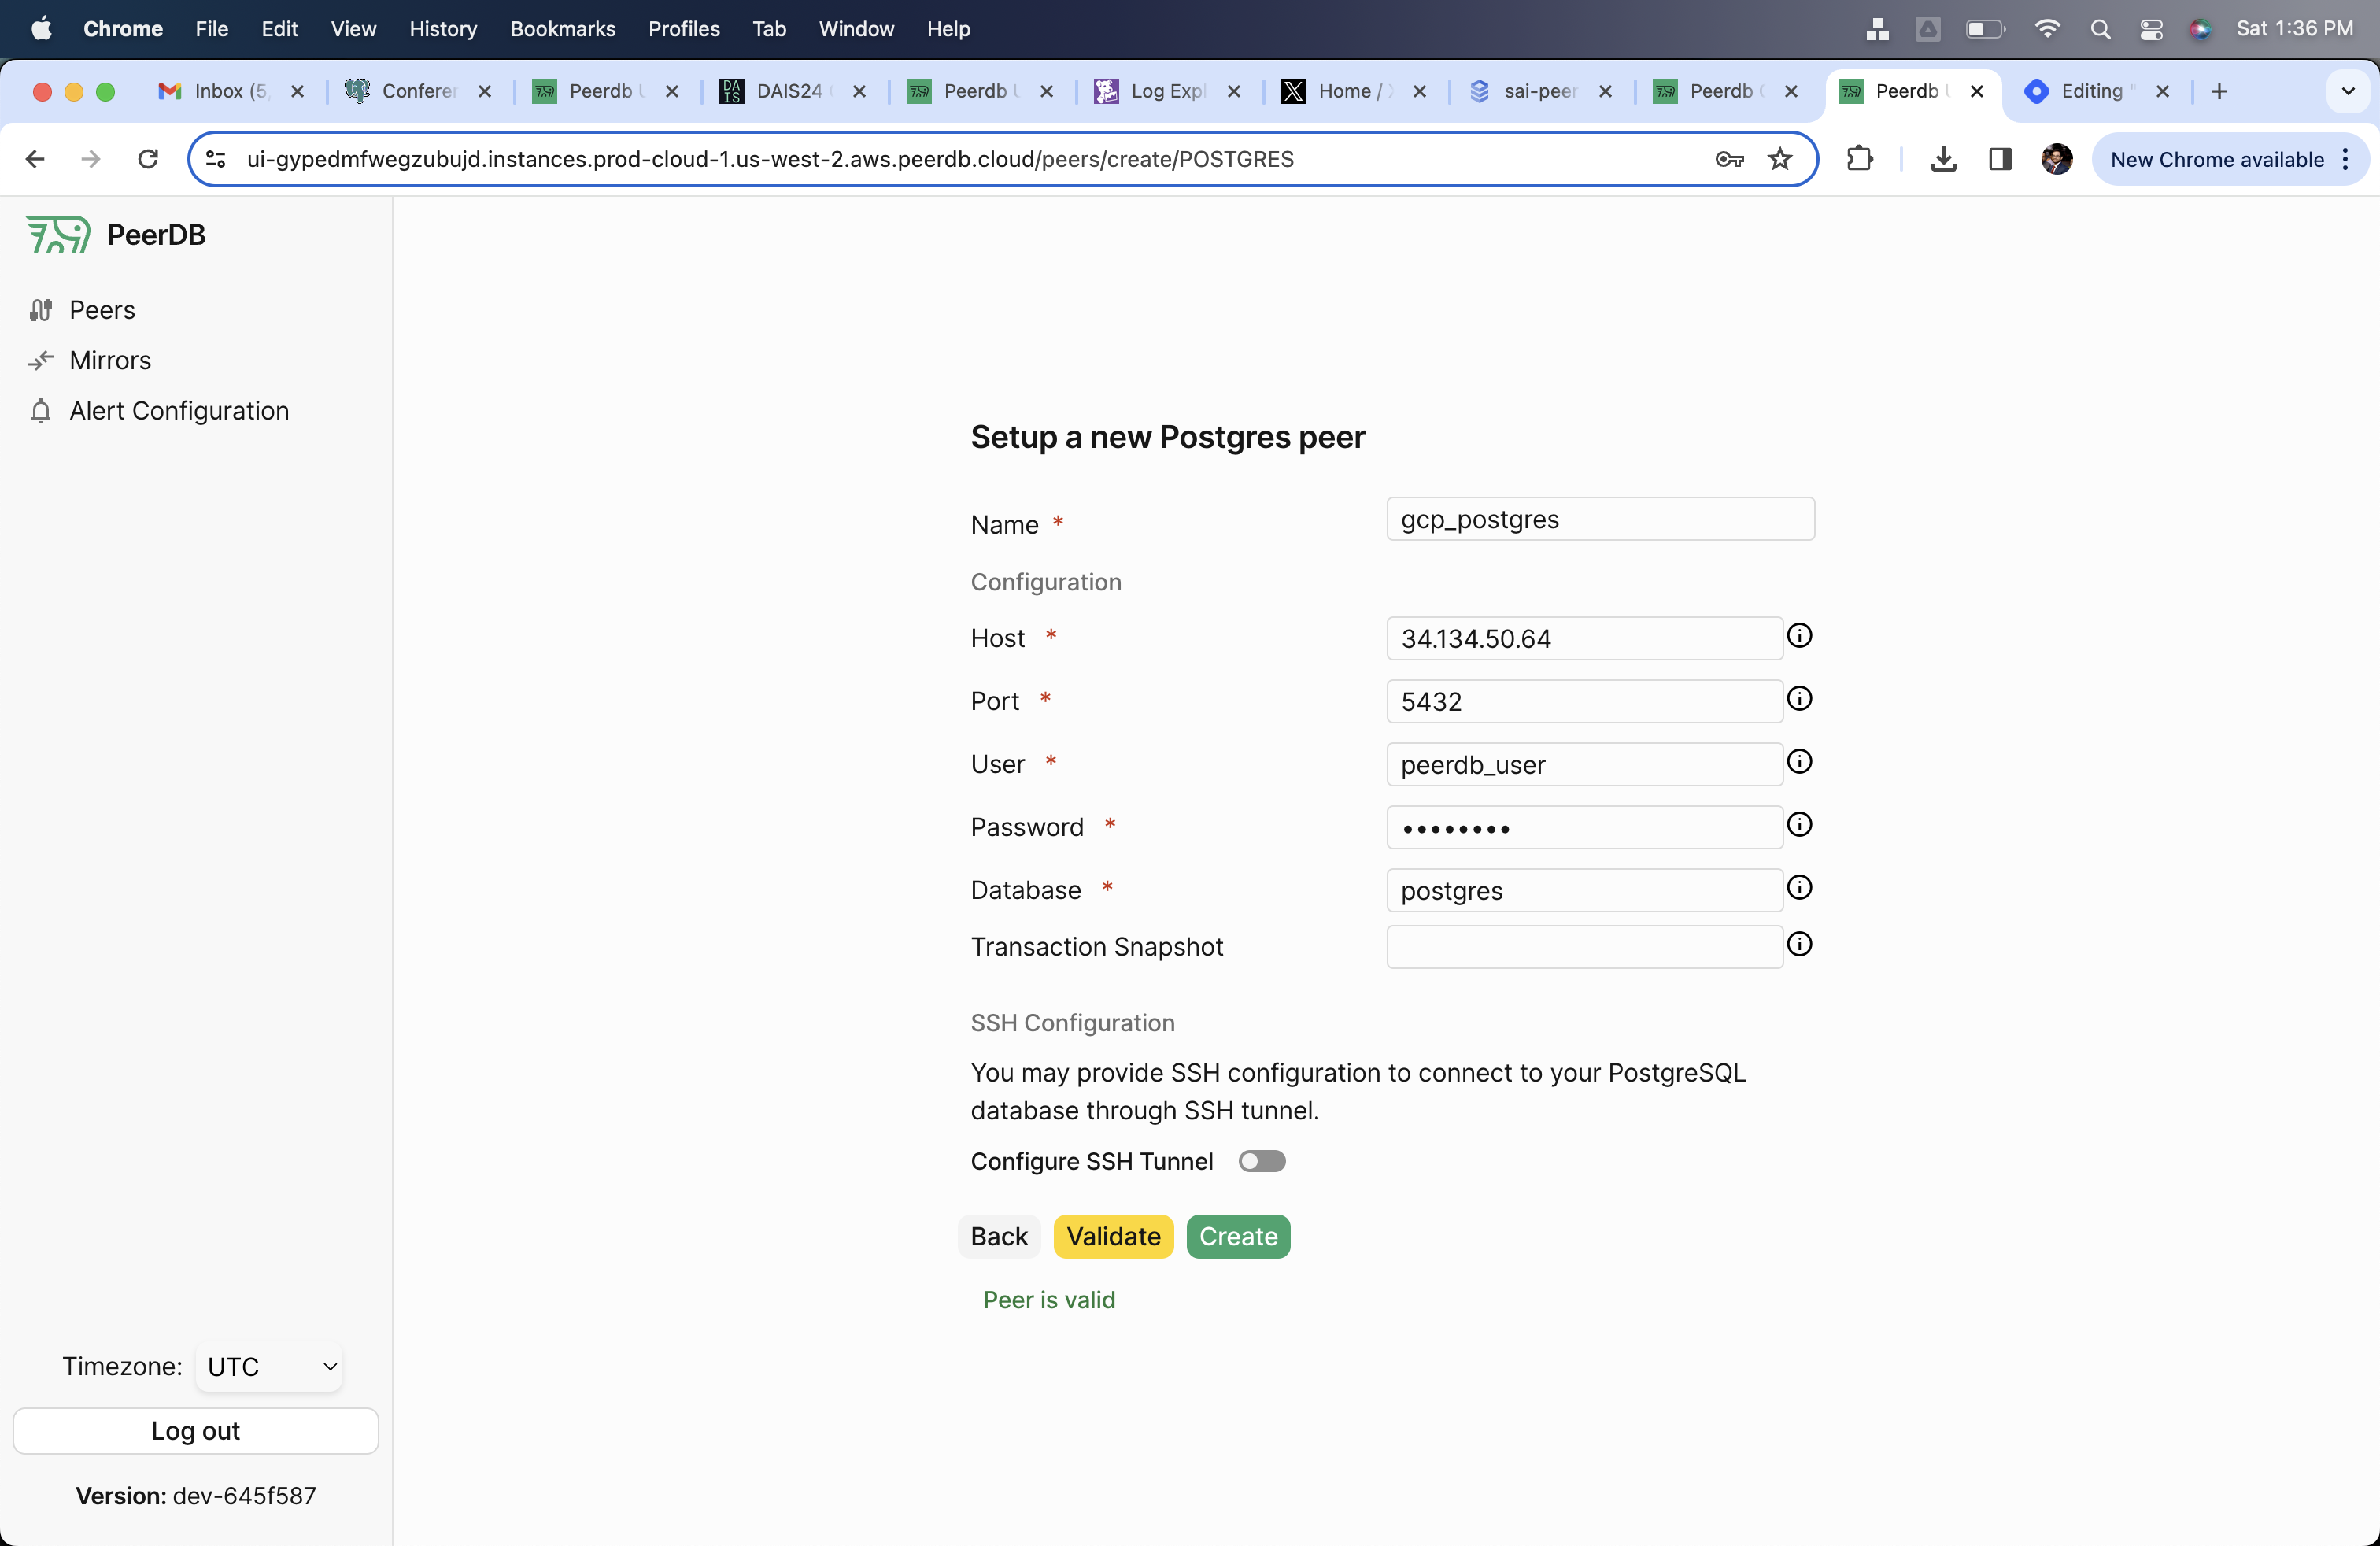
Peer Creation and Validation
Created Peer