If you use one of the supported providers (in the sidebar), please refer to the specific guide for that provider.
Enabling Replication on the Postgres Instance
-
To enable replication on your PostgreSQL instance, we need to make sure that the following settings are set:
To check the same, you can run the following SQL command:The output should be
logical. If not, run: -
Additionally, the following settings are recommended to be set on the PostgreSQL instance:
To check the same, you can run the following SQL commands:If the values do not match the recommended values, you can run the following SQL commands to set them:
- If you have made any changes to the configuration as mentioned above, you NEED to RESTART the PostgreSQL instance for the changes to take effect.
Creating a user with permissions and publication
Let’s create a new user for PeerDB with the necessary permissions suitable for CDC,
and also create a publication that we’ll use for replication. For this, you can connect to your PostgreSQL instance and run the following SQL commands:
The PeerDB user must not be restricted by RLS policies, as it can lead to missing data. You can disable RLS policies for the user by running the below command:
-
Create a dedicated user for PeerDB:
-
-
Grant schema-level, read-only access to the user you created in the previous step. The following example shows permissions for the
publicschema. Repeat these commands for each schema containing tables you want to replicate: -
-
Grant replication privileges to the user:
-
-
Create a publication with the tables you want to replicate. We strongly recommend only including the tables you need in the publication to avoid performance overhead.
Any table included in the publication must either have a primary key defined or have its replica identity configured to
FULL.- To create a publication for specific tables:
-
To create a publication for all tables in a specific schema:
peerdb_publicationpublication will contain the set of change events generated from the specified tables, and will later be used to create the MIRROR (replication).
Enabling connections in pg_hba.conf to the PeerDB User
If you are self serving, you need to allow connections to the PeerDB user from the PeerDB IP addresses by following the below steps. If you are using a managed service, you can do the same by following the provider’s documentation.
-
Make necessary changes to the
pg_hba.conffile to allow connections to the PeerDB user from the PeerDB IP addresses. An example entry in thepg_hba.conffile would look like: -
Reload the PostgreSQL instance for the changes to take effect:
Create the Peer on PeerDB
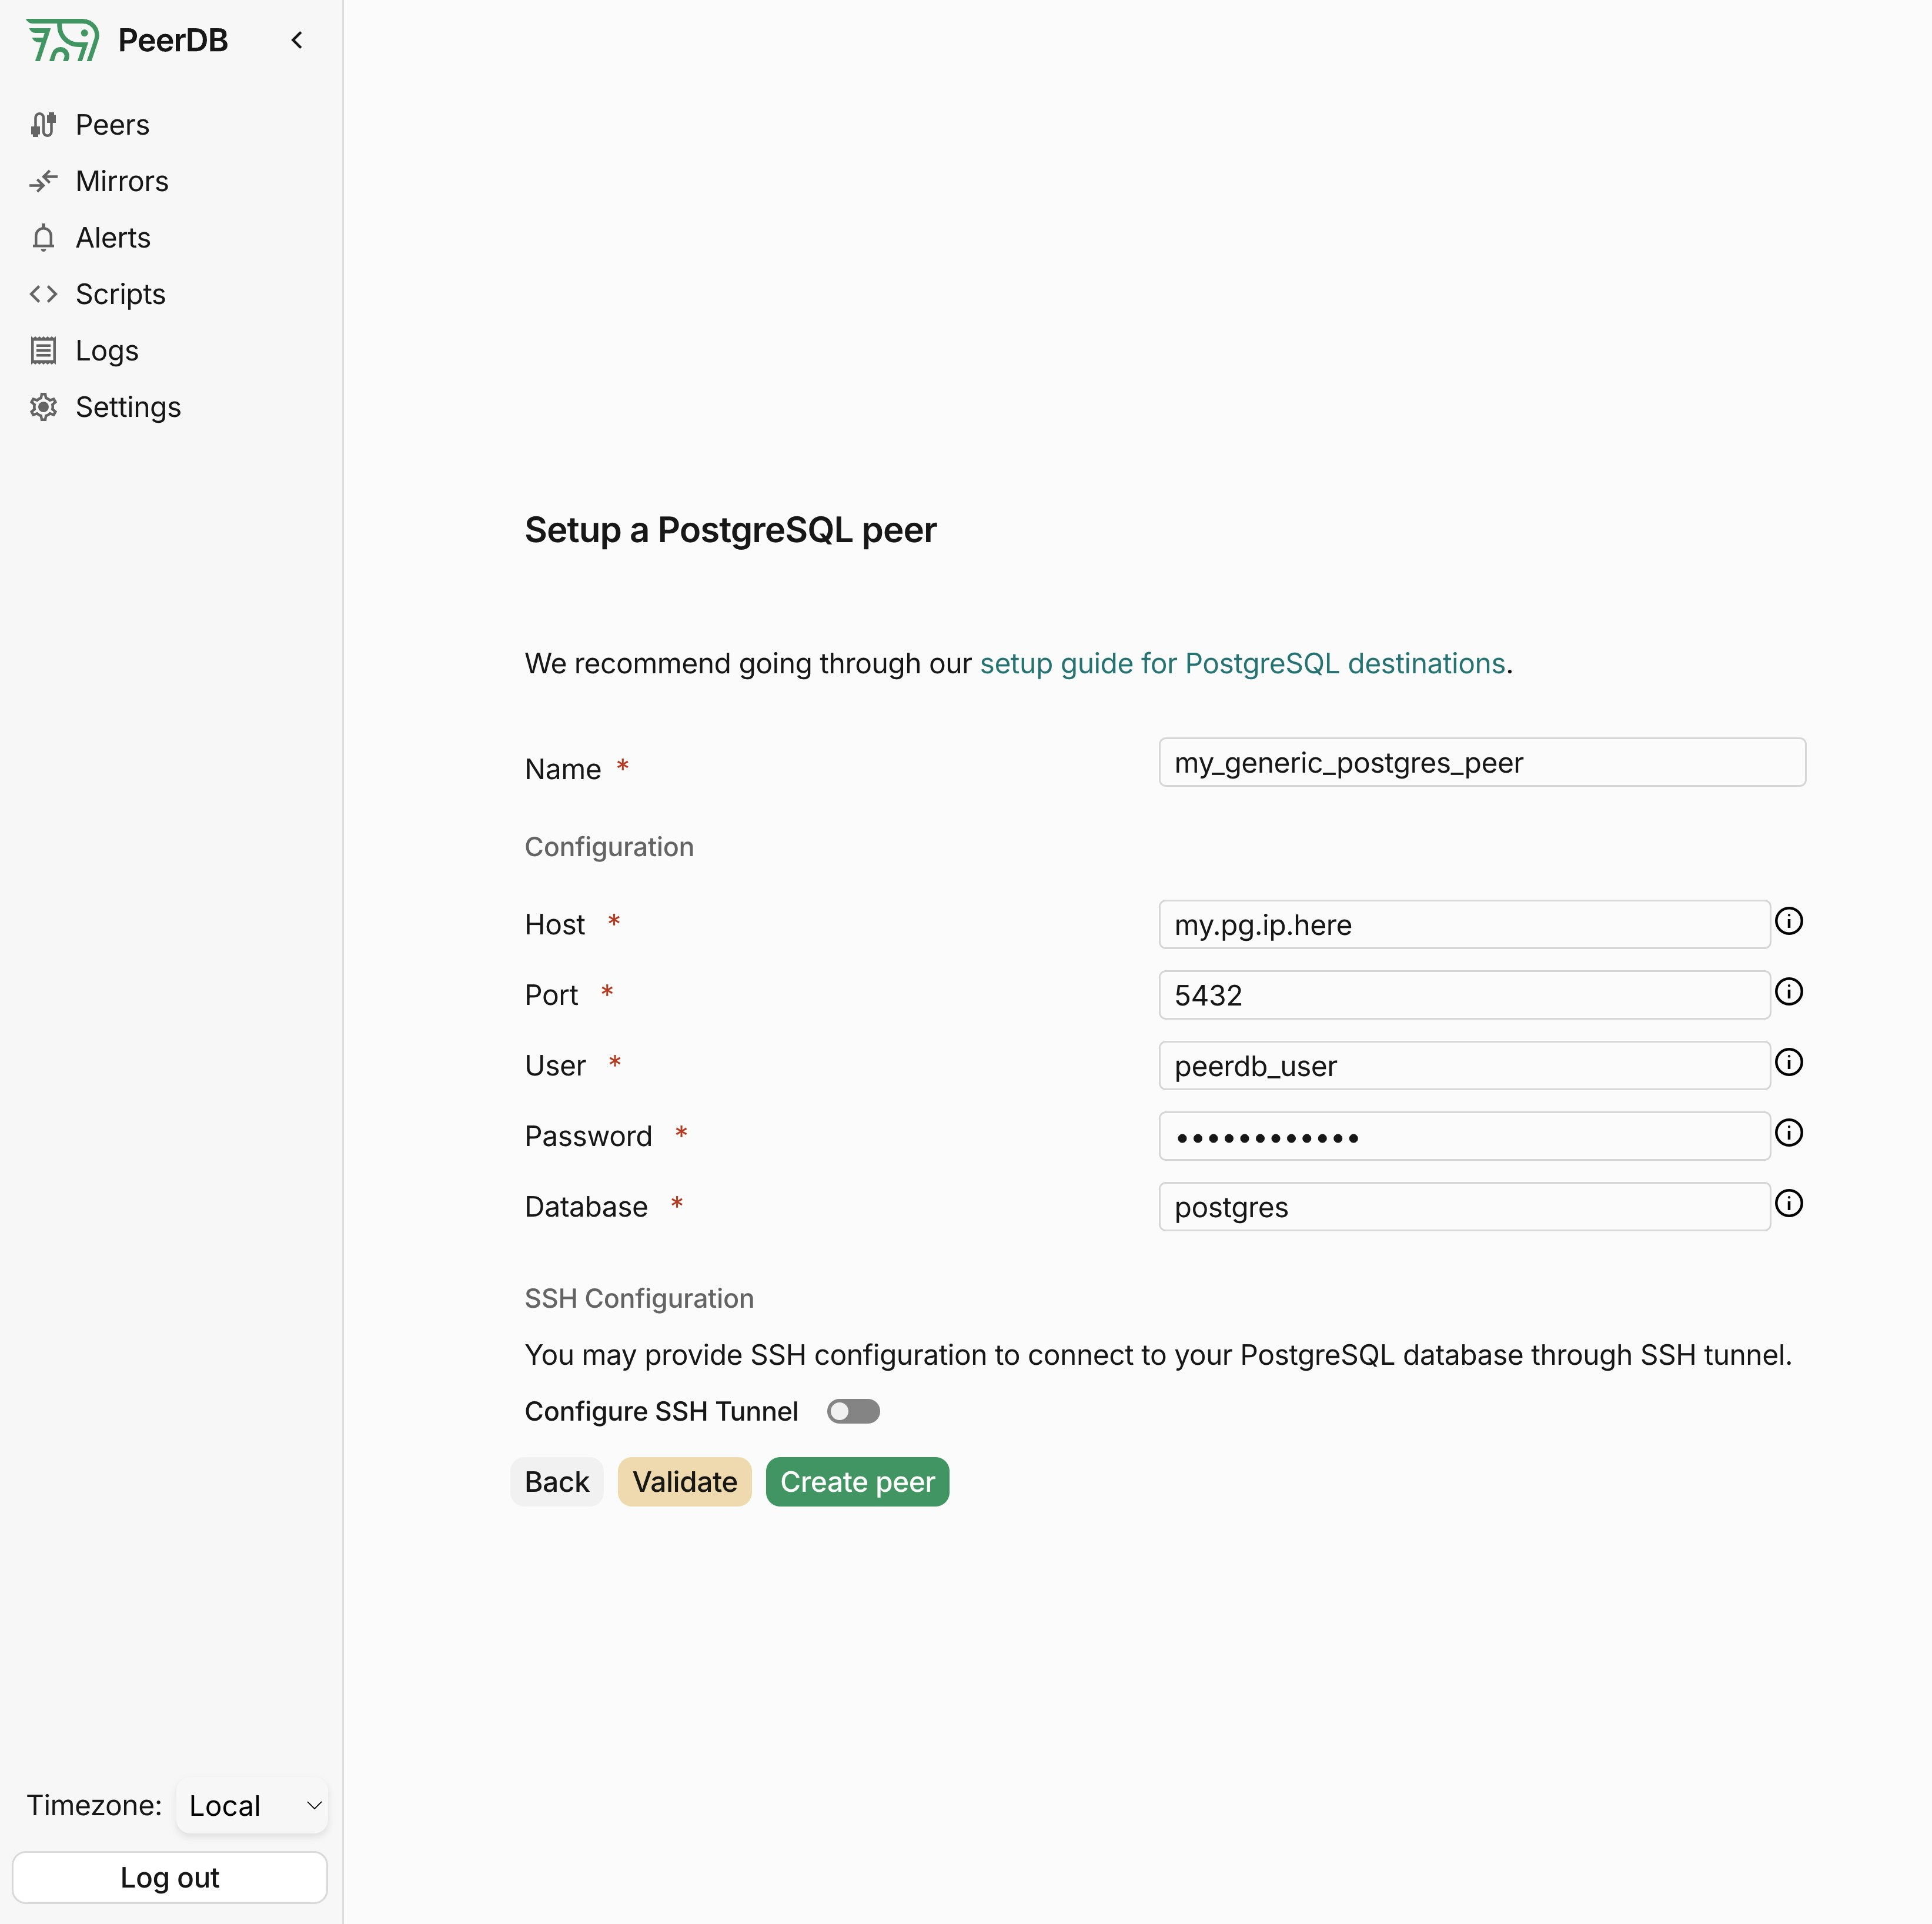
- Head over to PeerDB UI and click on Create Peer. Select Postgres as the source.
- Now you can fill in the connection details of the PostgreSQL instance, but make sure to use the username and password you created earlier in the SQL commands in Step 2.

- Click on Validate and once that’s green, you can go ahead and click on Create to create the peer!
Increase max_slot_wal_keep_size
This is a recommended configuration change to ensure that large transactions/commits do not cause the replication slot to be dropped.You can increase the You can reload the PostgreSQL instance for the changes to take effect:For better recommendation of this value you can contact the PeerDB team.
max_slot_wal_keep_size parameter for your PostgreSQL instance to a higher value (at least 100GB or 102400) by updating the postgresql.conf file.When creating the Mirror, make sure to reuse the same publication you created earlier in Step 2

