PeerDB Cloud
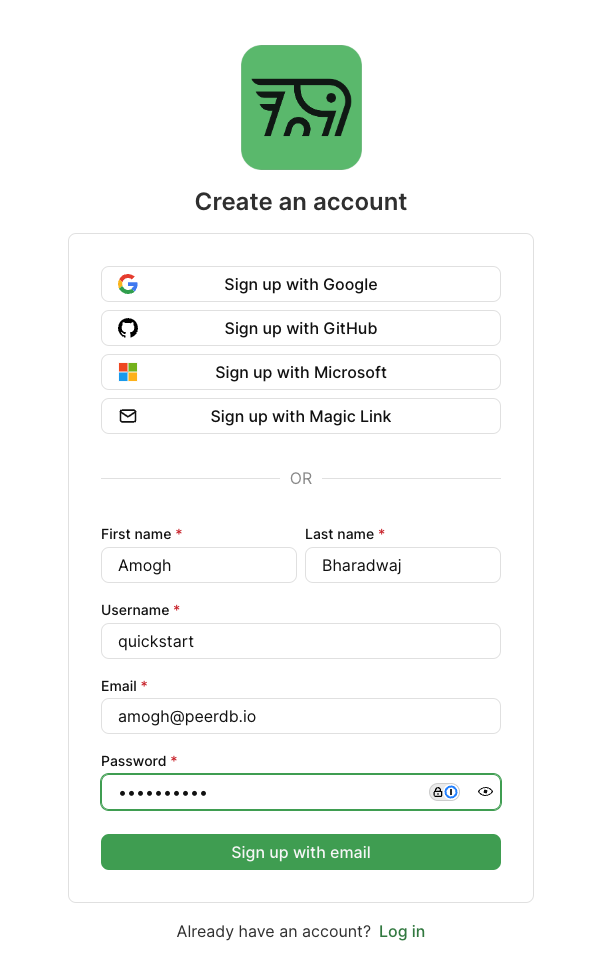
PeerDB Cloud is a fully managed service that allows you to replicate data across different data stores. It is designed to be easy to use and requires no infrastructure management. You can get started with PeerDB Cloud in a few simple steps. Let’s head over to https://app.peerdb.cloud to get started.Sign Up
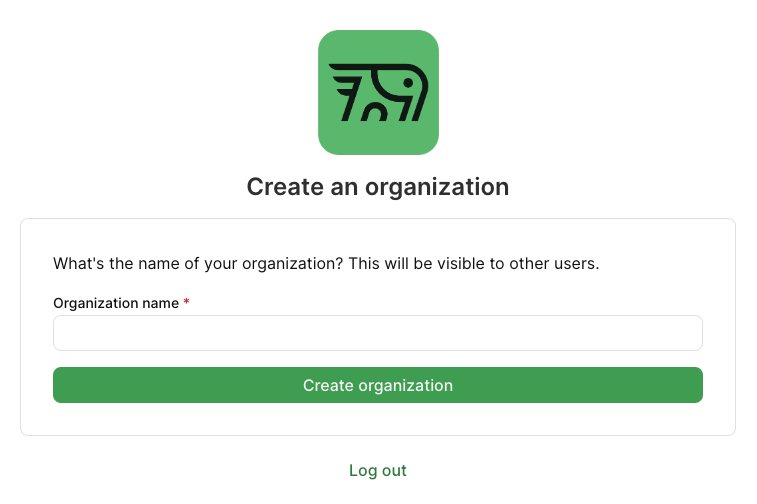
Upon landing on PeerDB Cloud, we will be greeted with the login page.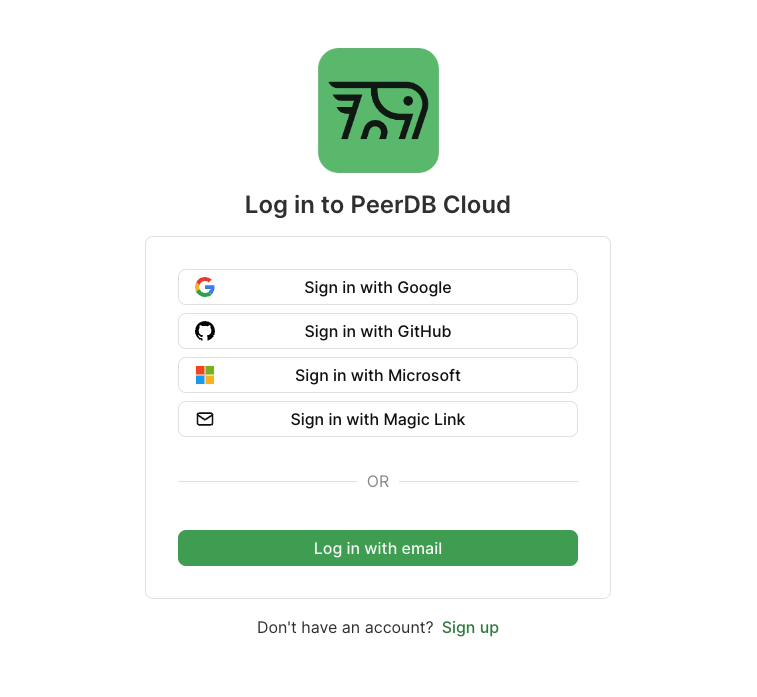
Creating an instance
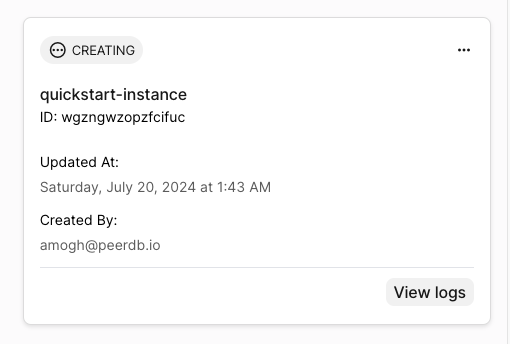
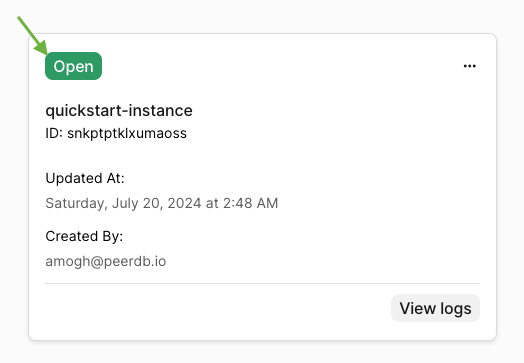
We will be taken to the PeerDB Cloud Dashboard. We can now create a PeerDB instance. Let’s click on Create Instance to get started.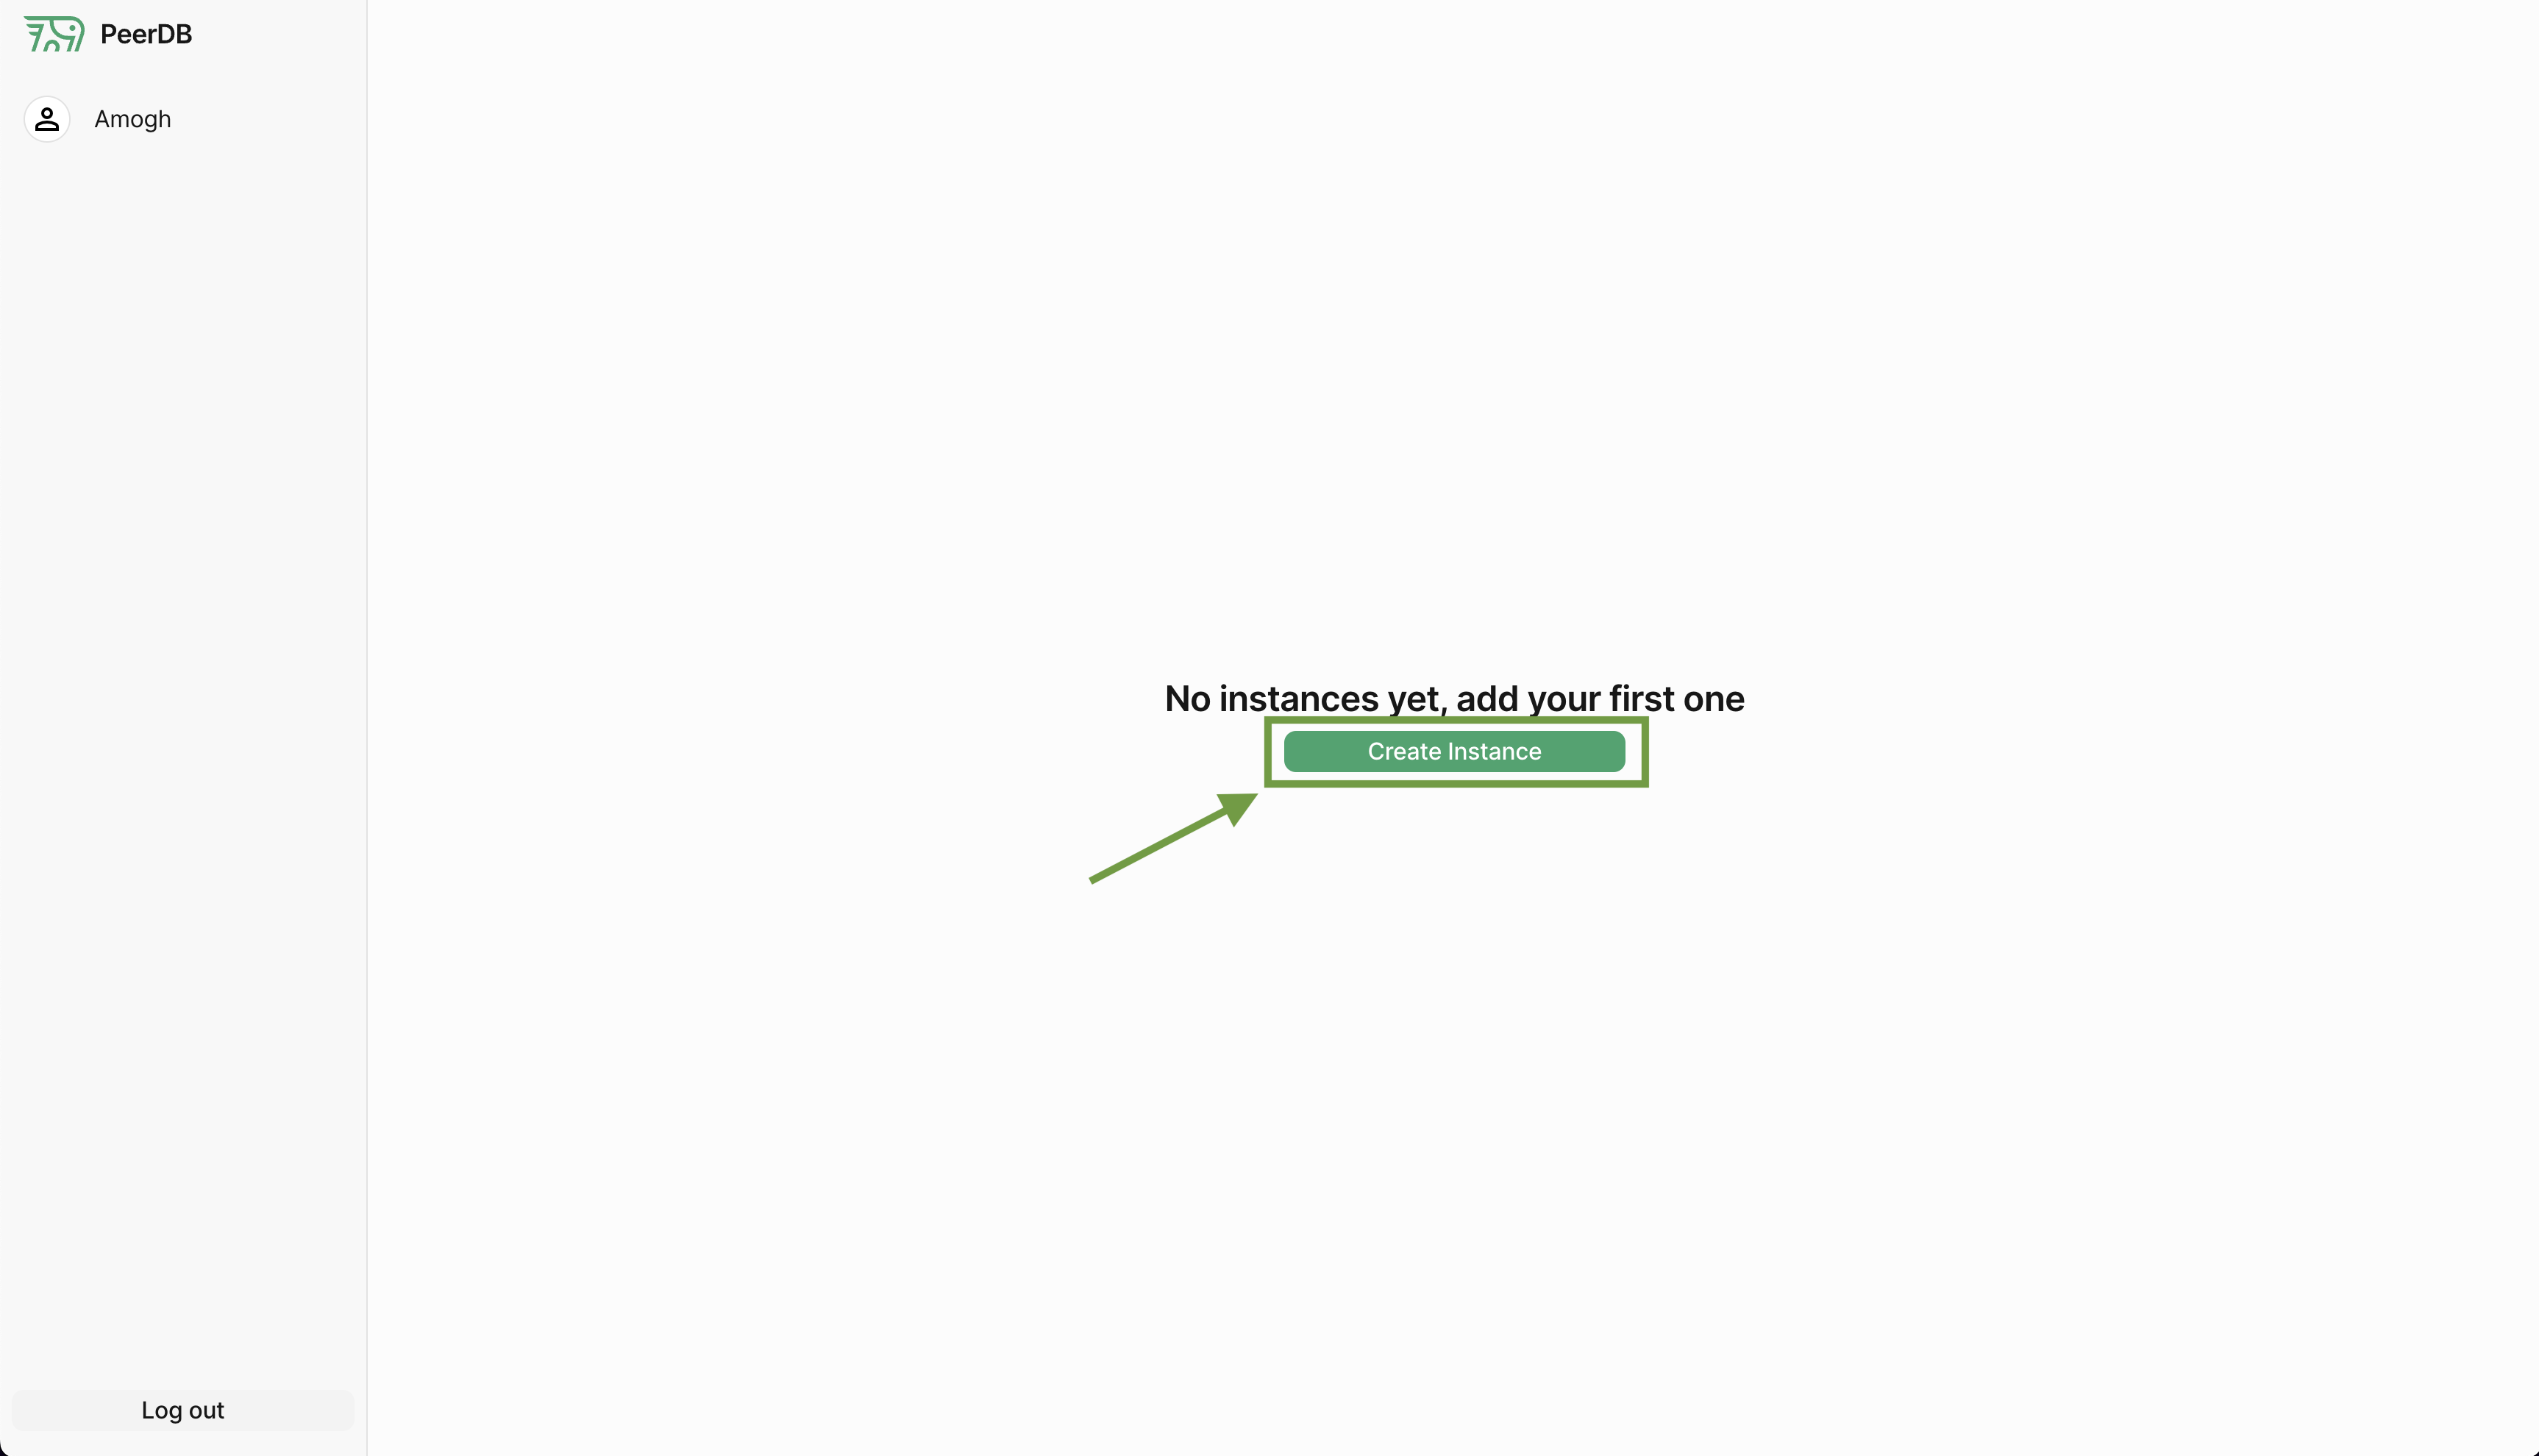
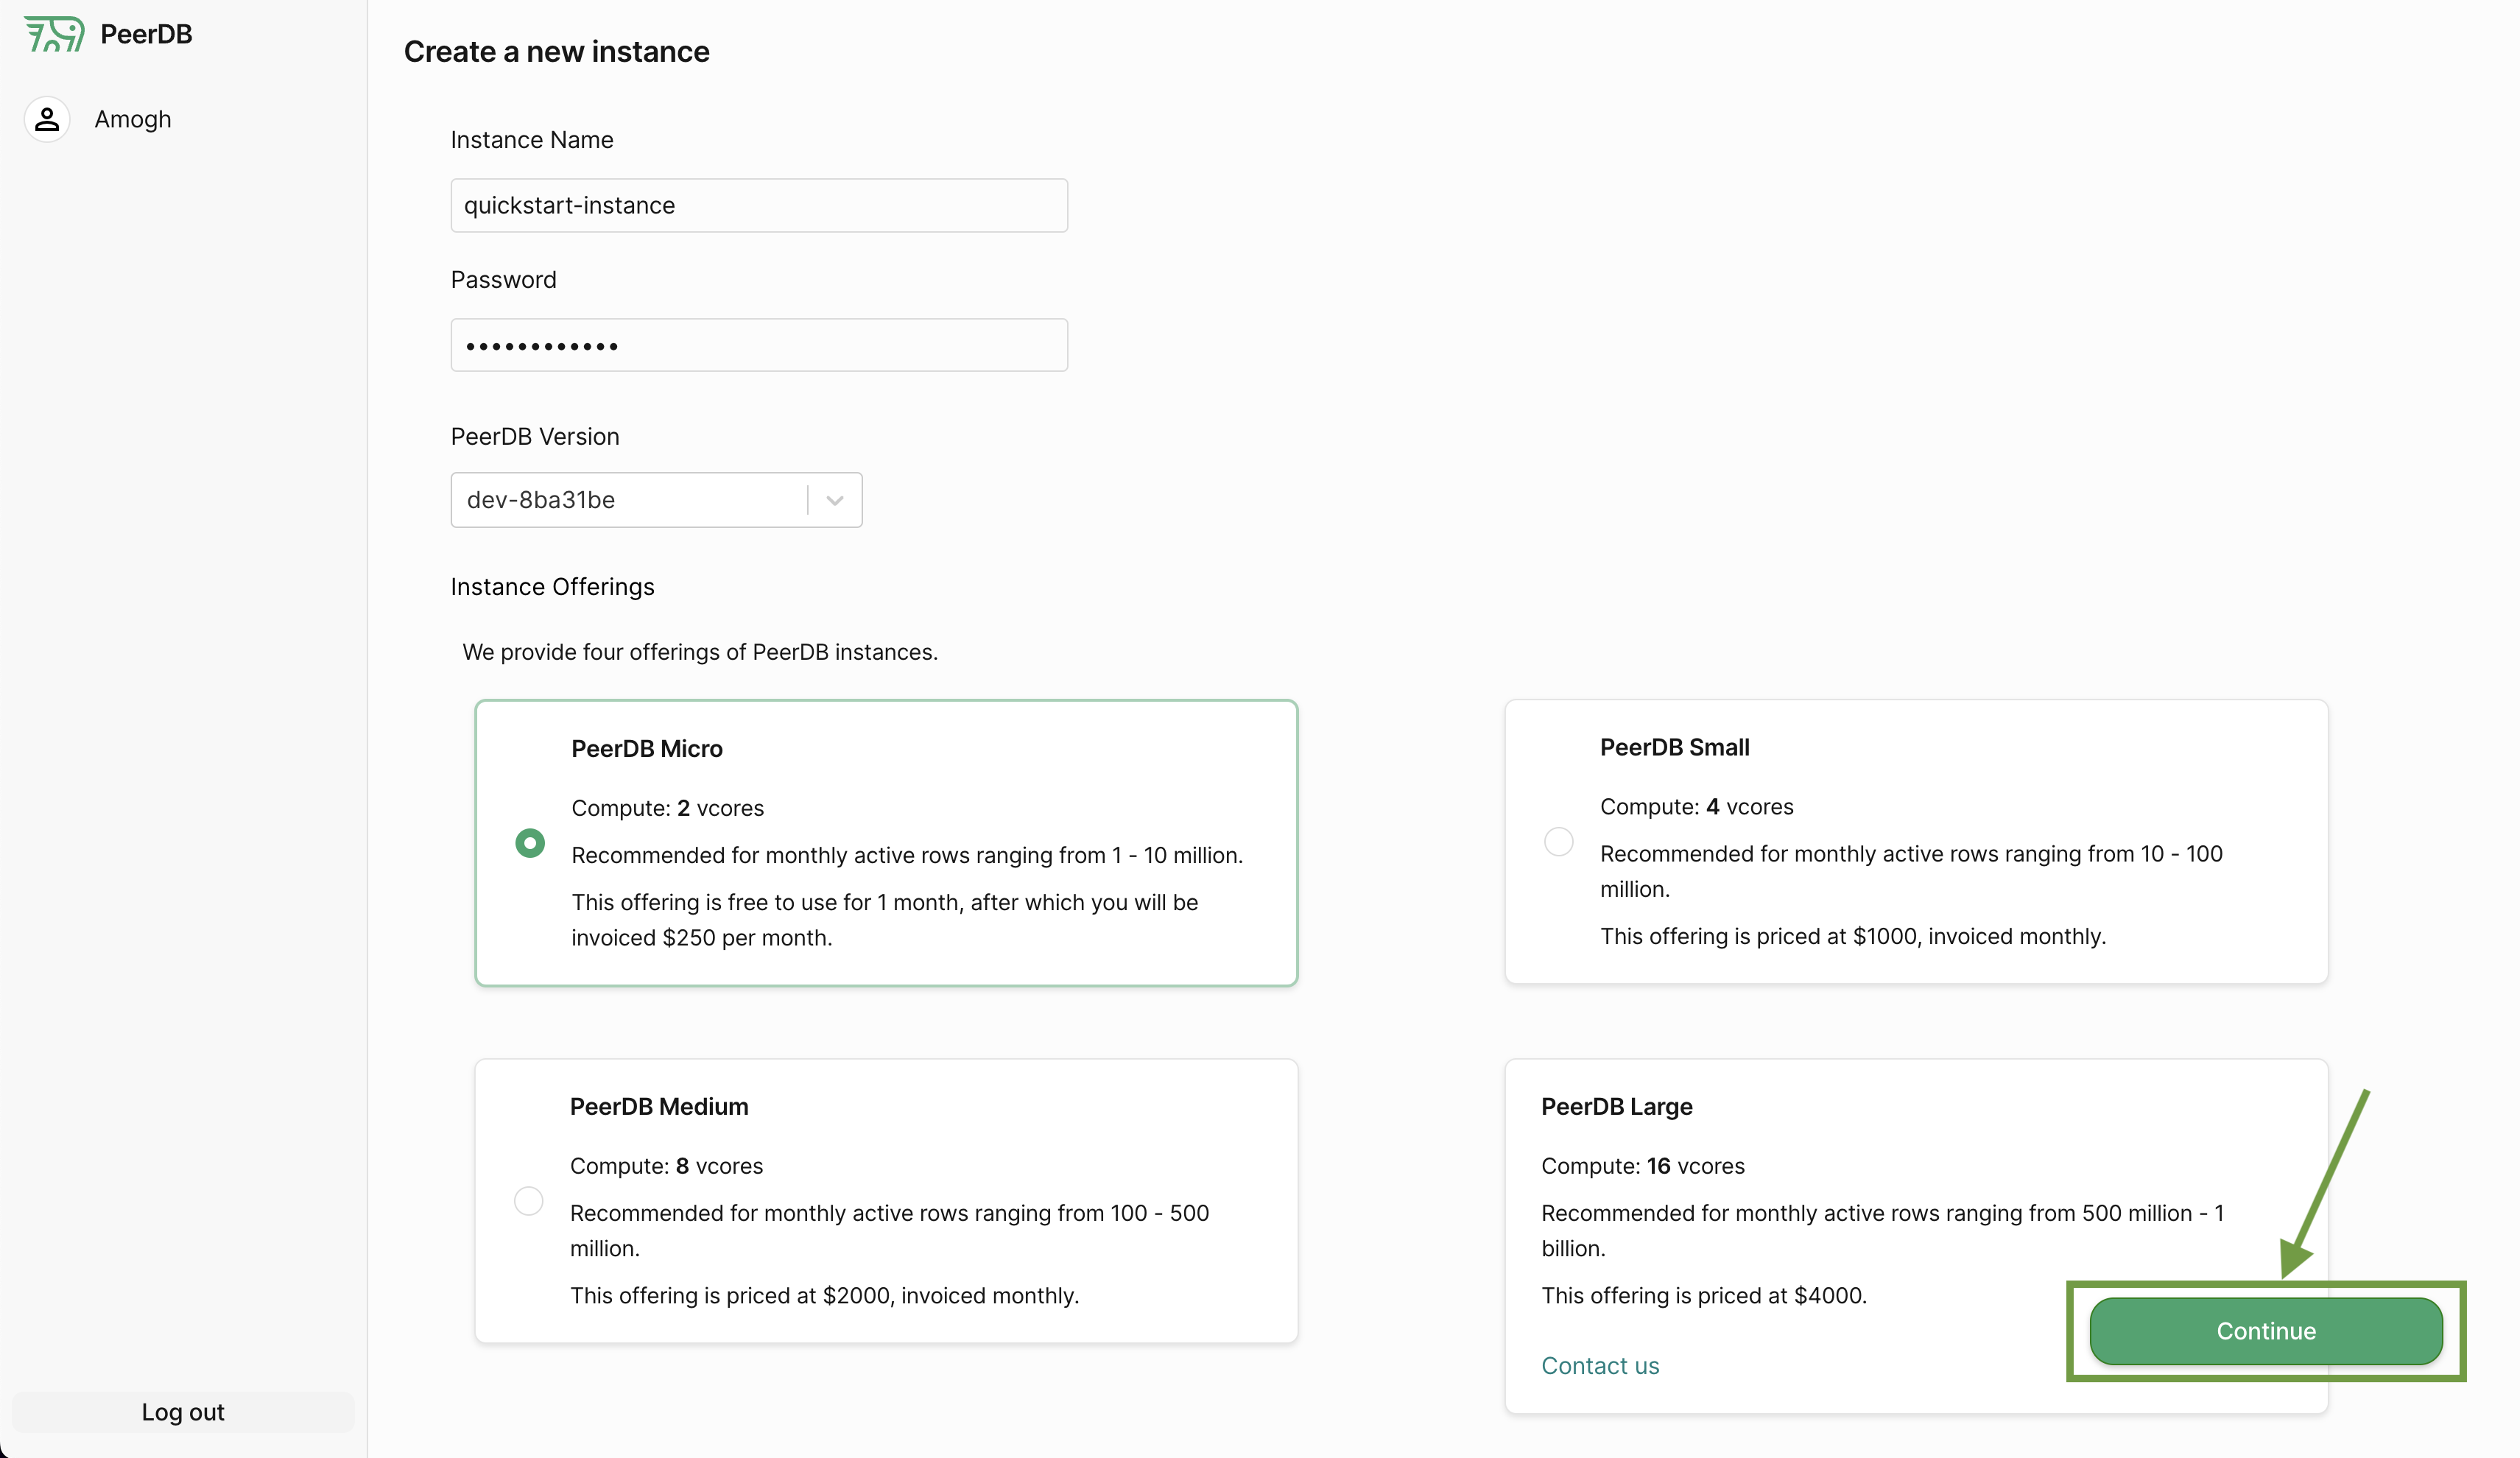
- Name: The name of the instance. This can be to your liking.
- Password: The password for the instance. This is used to connect to the instance, so make sure to note it down. For this quickstart, let’s assume the password to be
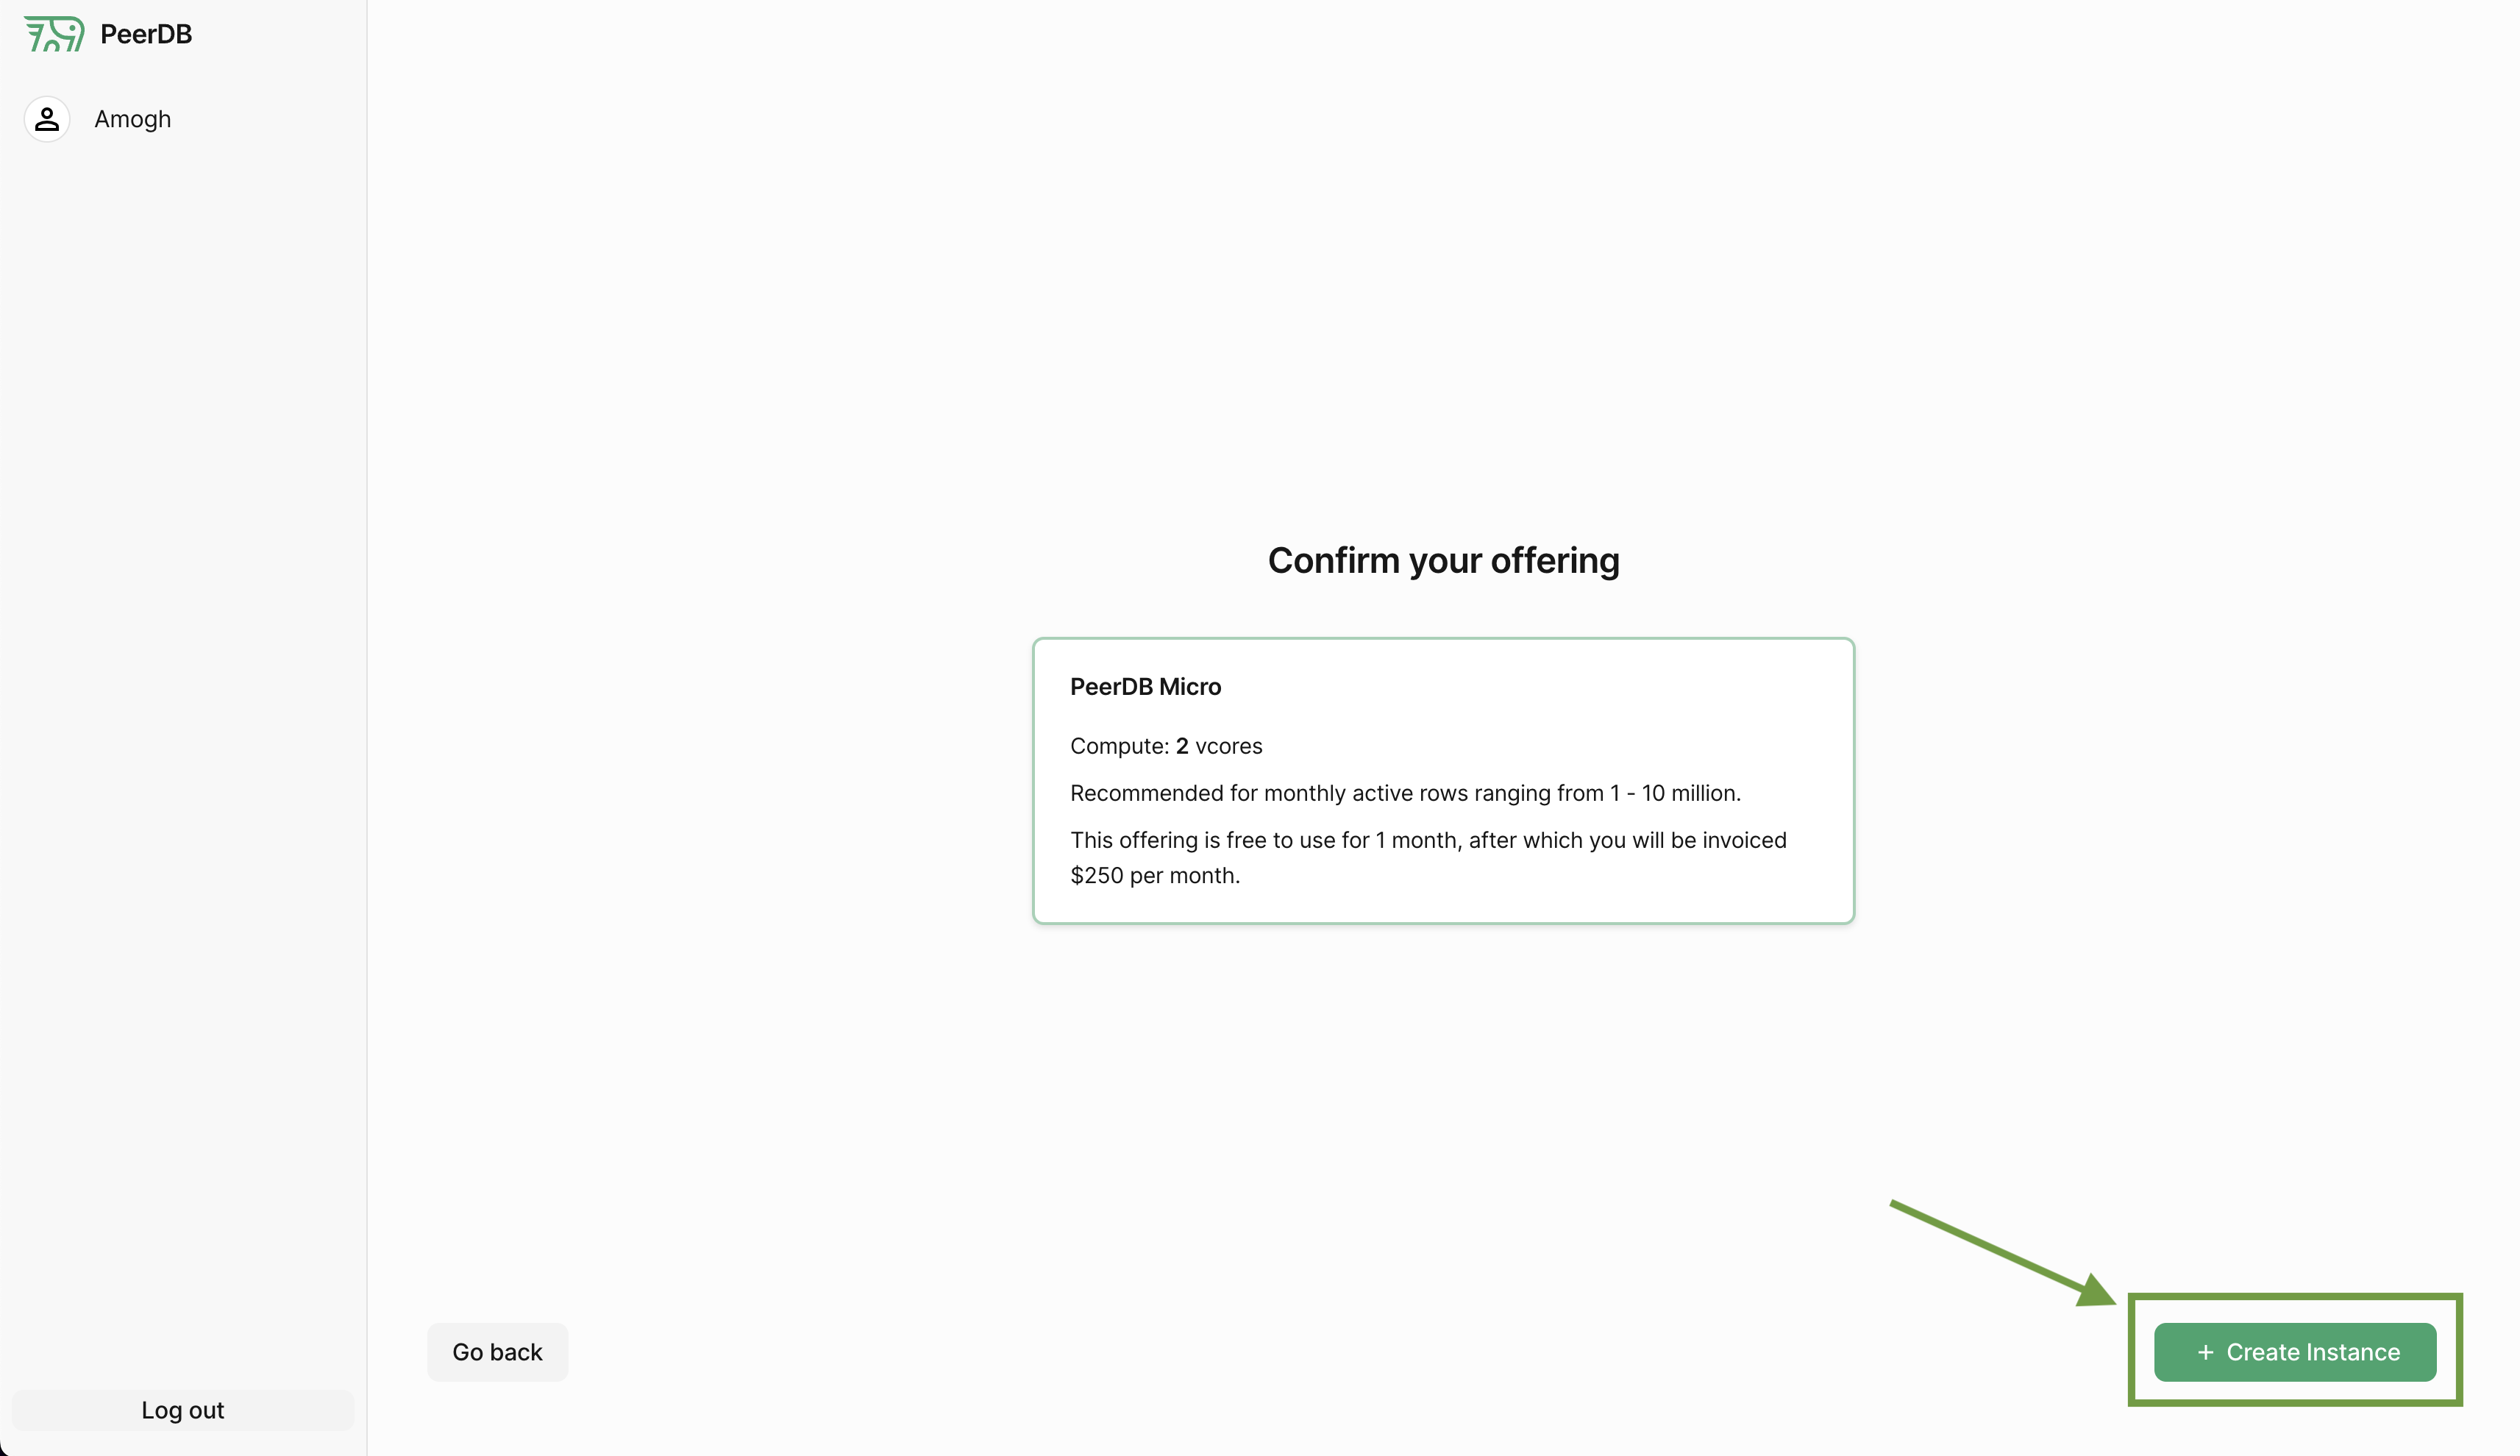
quickstart. - Version: The version of PeerDB to use. For this quickstart, let’s select the provided version in the dropdown.
PeerDB UI
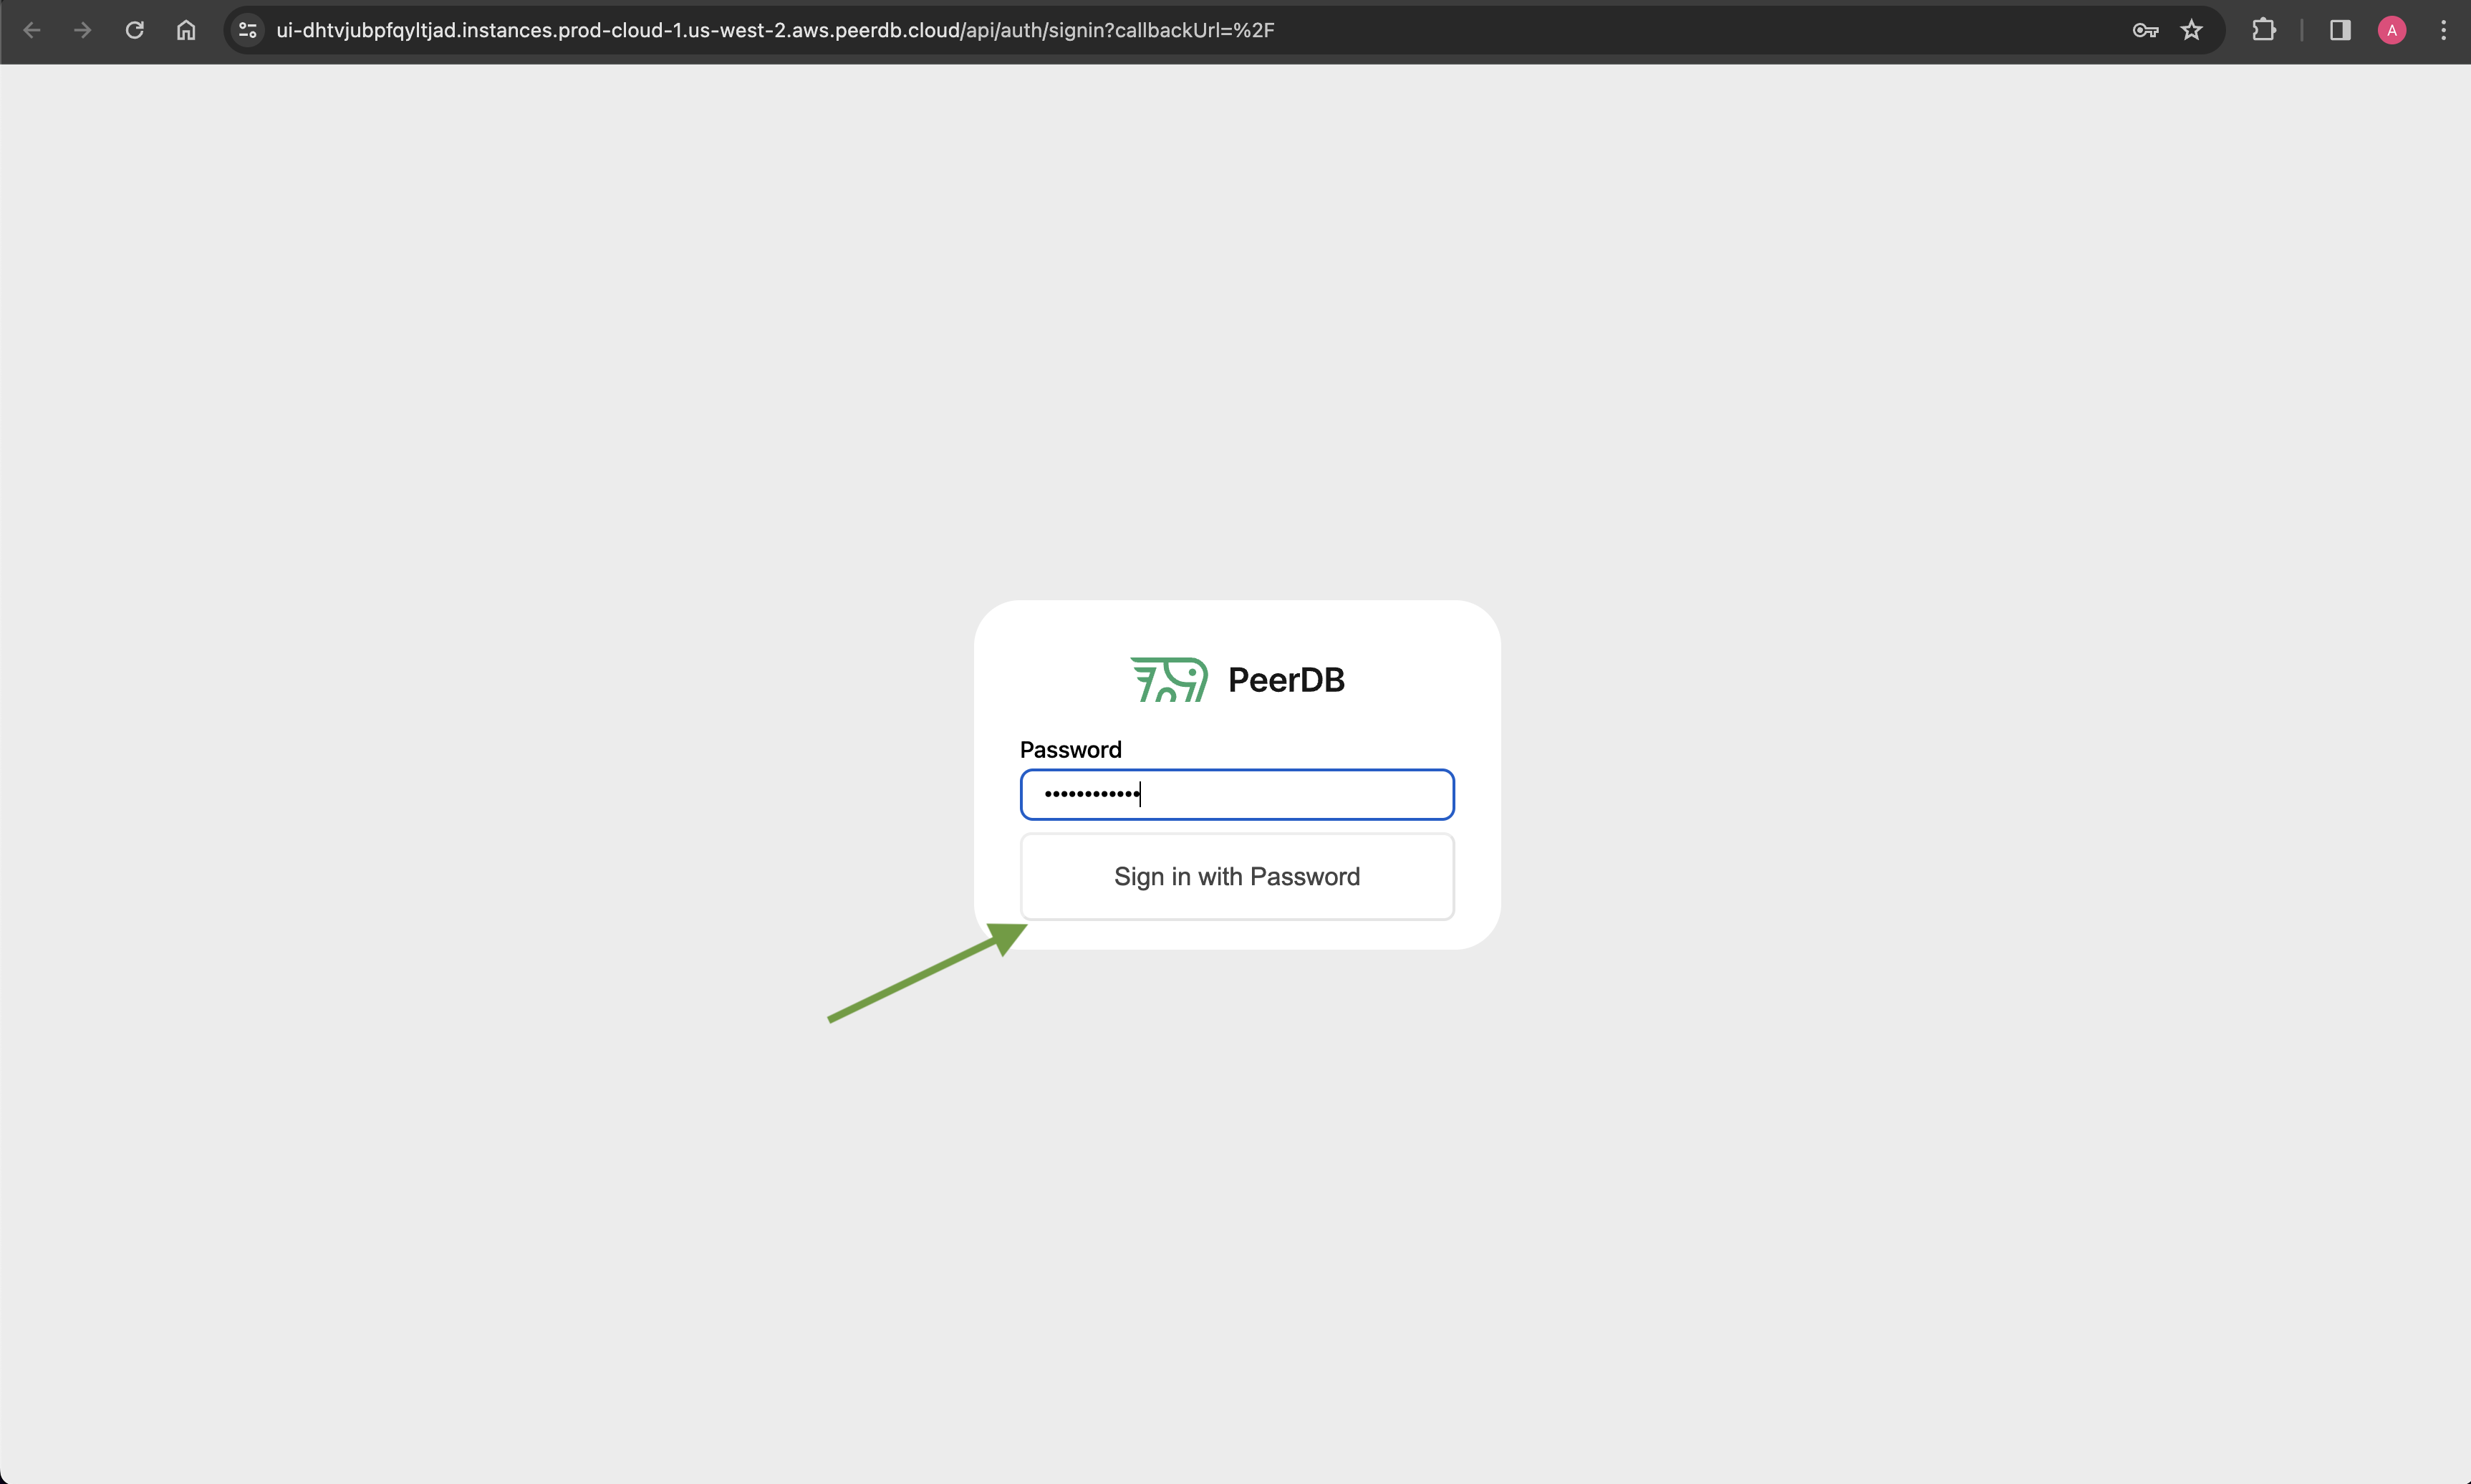
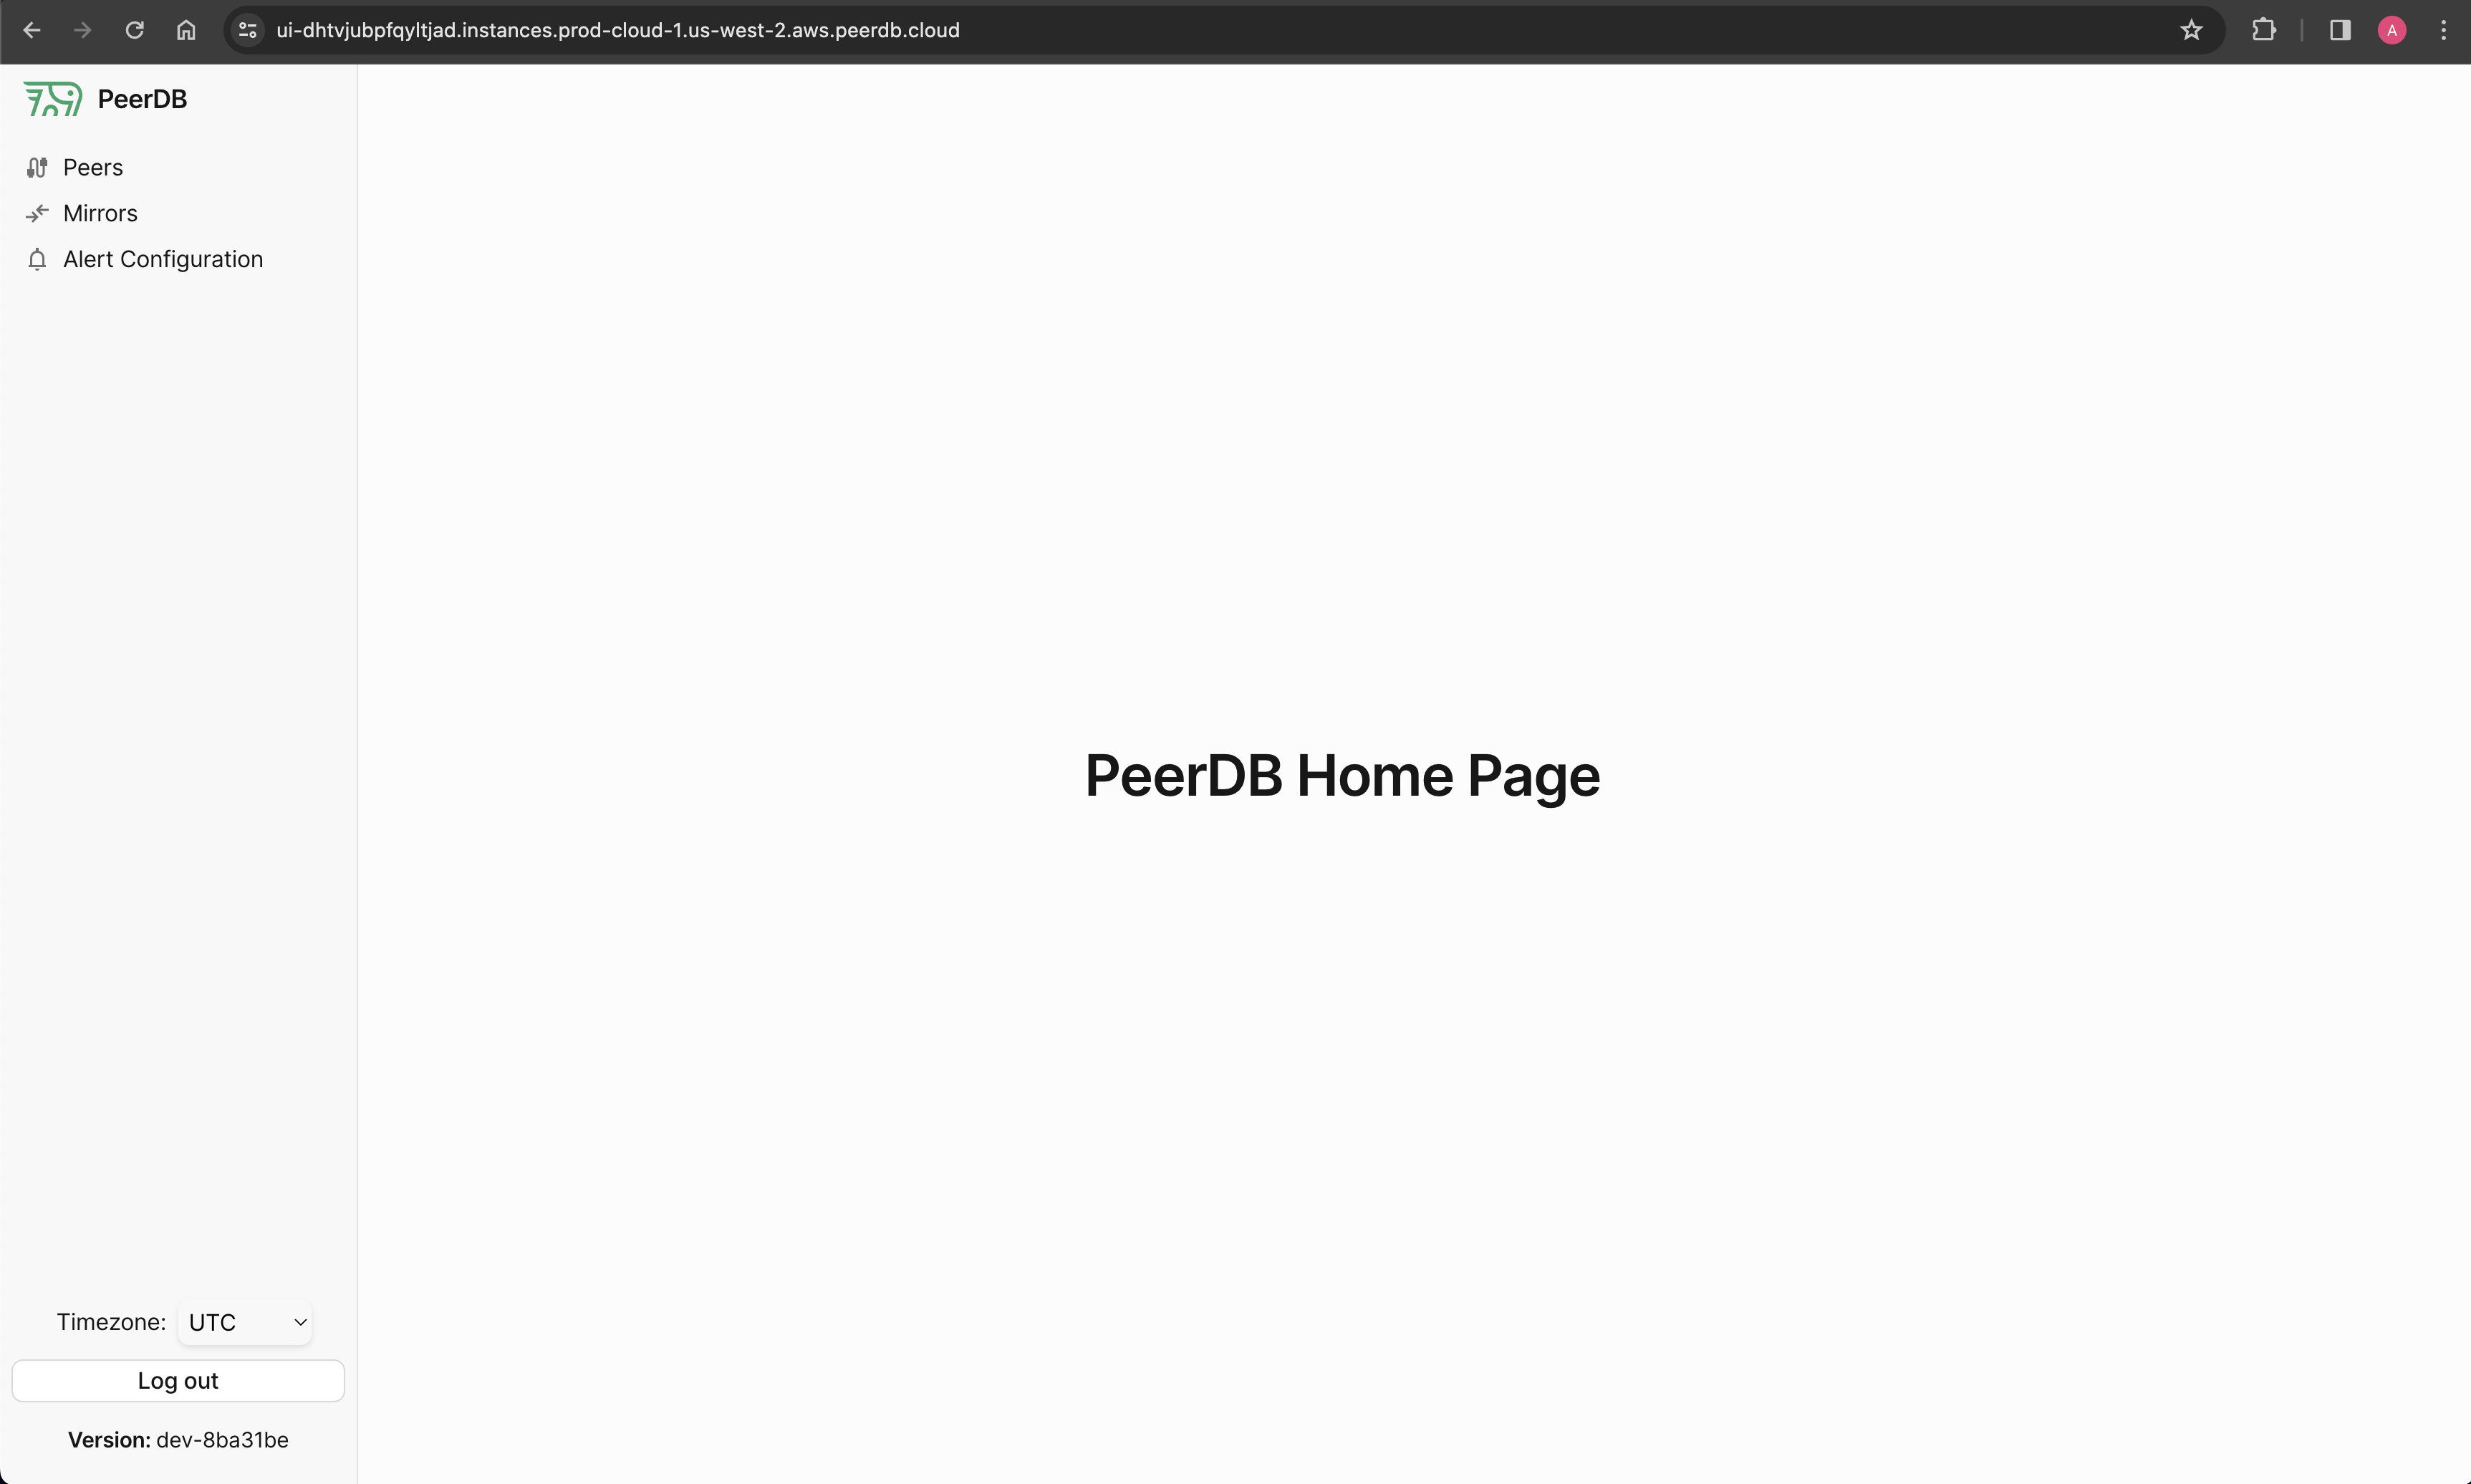
We will be directed to the PeerDB UI login page. The password for this instance is the one we set during the instance creation. In our case, that isquickstart.
Let’s fill in the password and click on Sign in with Password.
