PeerDB is now natively integrated with ClickHouse Cloud!We recently announced the Postgres CDC connector in ClickPipes, now available in Public Preview.
This connector is fully powered by PeerDB.As a ClickHouse Cloud customer, you get a seamless, native experience for moving data from your Postgres databases to ClickHouse Cloud. Simply navigate to the Data Sources tab and add a Postgres source to start ingesting data.
Steps on setting up the ClickHouse peer
- Create a separate database for the ClickHouse peer called peerdb. This is where tables will be auto-created and synced by PeerDB.
- Create a Clickhouse user for PeerDB with the following permissions:
If you need to whitelist PeerDB IPs in Clickhouse Cloud, you can find the IPs of your PeerDB instance here.
- ClickHouse has several ports exposed, and PeerDB requires to use a port that exposes the
ClickHouse native protocolwhich by default is9440for the secure TLS-enabled port and9000for the non-TLS port. If the default ports have been changed, please adjust them accordingly.
- If you are using PeerDB OSS, we use MinIO as the internal transient stage. You might need to adjust your firewall rules to allow connections from ClickHouse to MinIO. In PeerDB Cloud, we abstract all of this from you. If you run into issues, please reach out to support@peerdb.io or join our Slack channel.
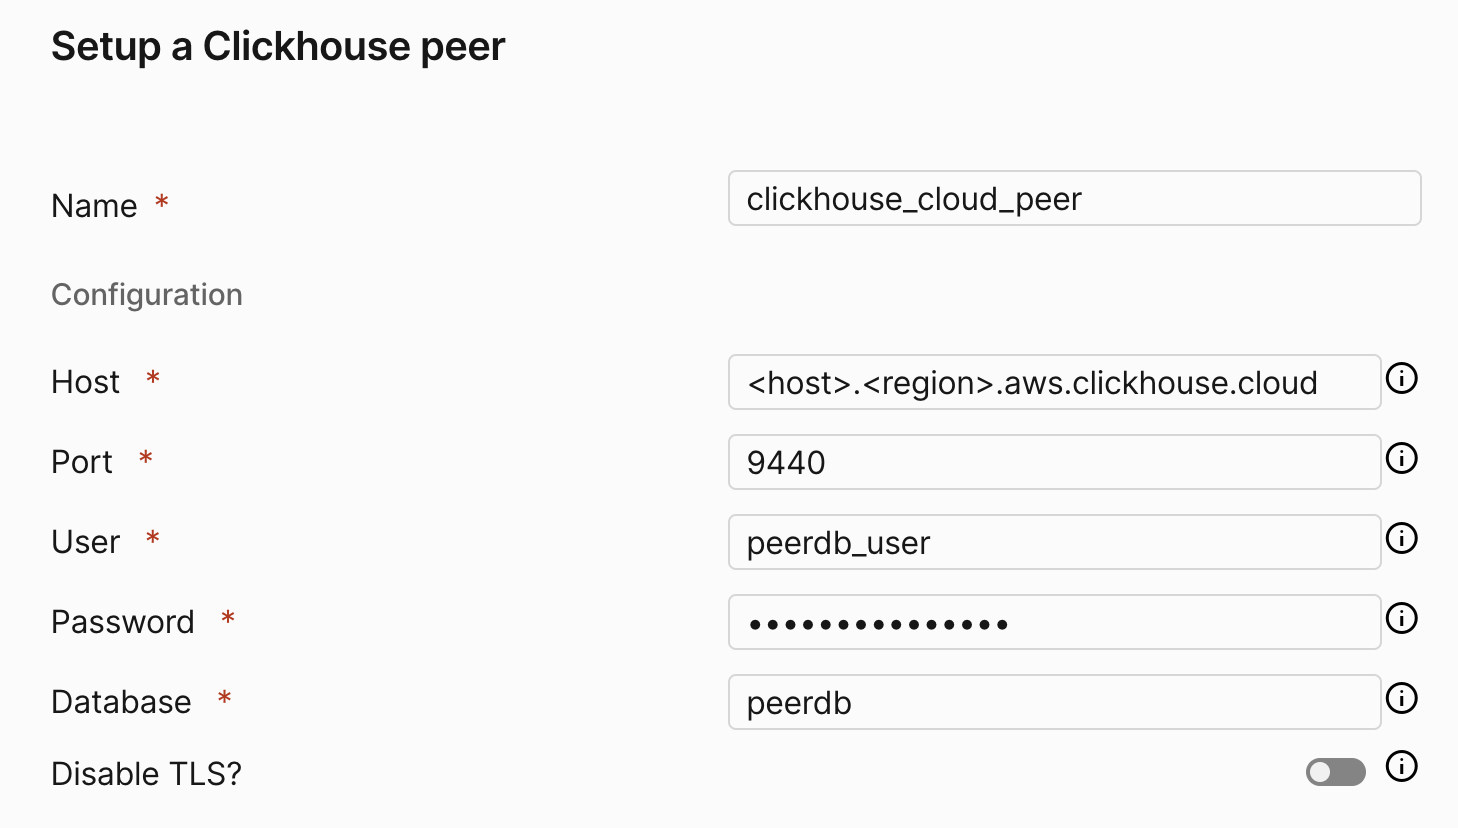
- Create the ClickHouse Peer through PeerDB UI
Enter all the details

Name,Host,Port(as determined above),User,PasswordandDatabase. - Click on
Validateto ensure that the connection is successful. - Click on
Createto create the ClickHouse Peer.
Troubleshooting
Here is a list of some validation errors that you might encounter and how to resolve them: You may need to disable TLS You may need to disable TLS. Validation errors such as the following may occur if the connection is not successful:- Ensure that the PeerDB IP is whitelisted in the ClickHouse server. If you are using PeerDB Cloud, you can find the IPs of your PeerDB instance here.
- You may need to enable TLS.

